|
|
Post by Ron Kulas on Oct 18, 2008 19:43:46 GMT -6
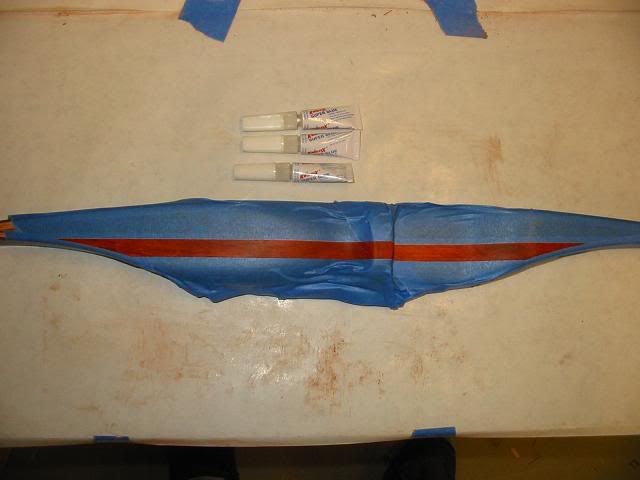
part 1 ronkulas.proboards.com/thread/28/longbow-built-1After I made the wood riser and my form to glue the bow on I laid out everything I needed since the dry run a few days ago. Then I put both quart containers of the epoxy in a basin of hot water to warm them up a bit. 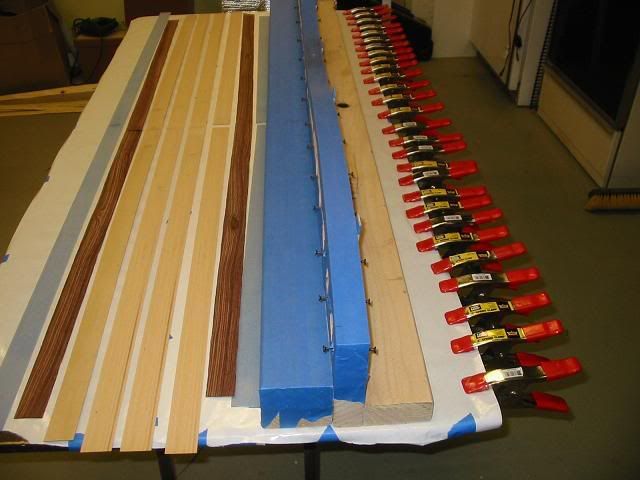 Next, I cleaned all the wood and glass surfaces and laid them in the order in which I would glue them. 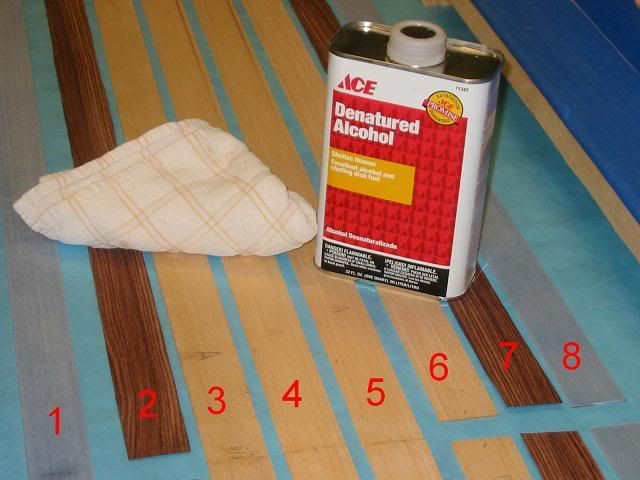 1. is .050 clear glass 2. is .020 kingwood vernier 3. is .090 thick hard maple taper (two pieces glued together to make one long piece) 4 and 5. is .065 thick hard maple taper (two pieces glued together to make one long piece) 6. is a piece of hard maple .060 parallel from the piece of wood my Dad cut. (two pieces glued together to make one long piece) 7. is .020 kingwood vernier 8. is .050 clear glass Missing from the picture is the riser. Fast forward to a completed glue up with the warmed epoxy. Due to the mess and the fact that I was working alone, I did not slip out of my sticky rubber gloves to take pictures along the way. What a slippery mess to work with. I used a combination of spring clamps and rubber inner tube strips to compress all the layers. I had more C-clamps at the center (on the riser) but I took them off once I realized that they stuck up higher than the sides of the box and the cover would not lay flat. So much for a complete dry run. I should have tried the lid of the box also. Oh well. live and learn. 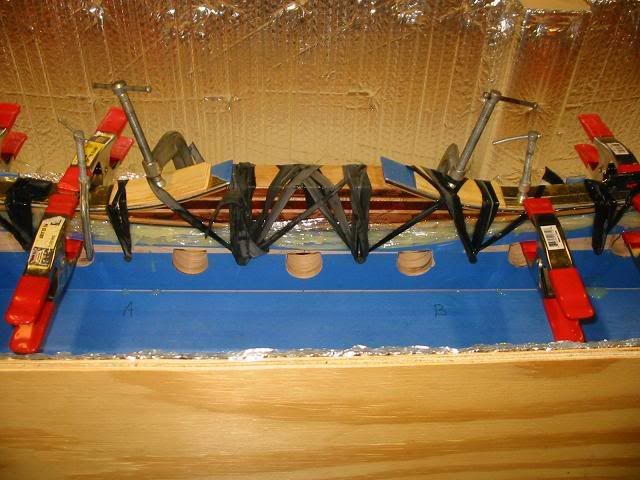 Here is a close up of all the layers and all the extra glue that oozed out. I also learned that I used too much glue. I think I could have built two bows with what came out from between the seams. Once again. Live and learn. 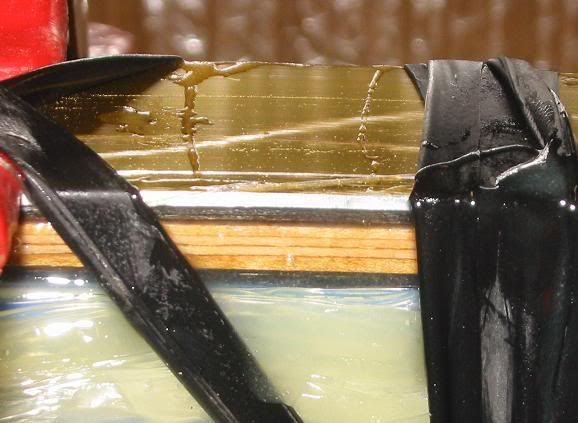 Here is the oven box doing it's job of keeping the bow at around 160F. I will unplug it before I go to bed and let it slowly cool down over night. 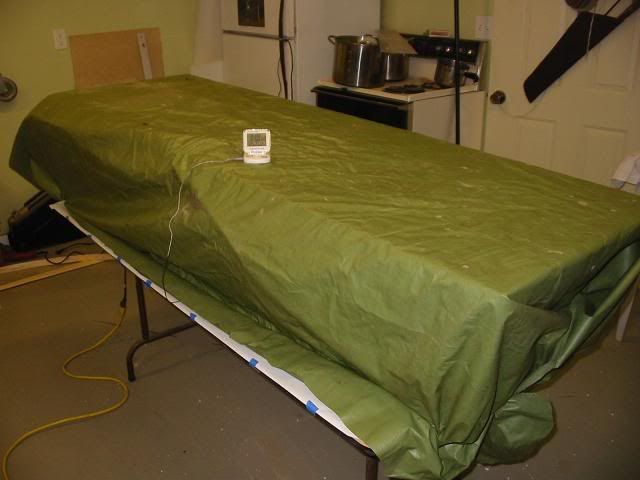 |
|
|
|
Post by Ron Kulas on Oct 18, 2008 19:45:31 GMT -6
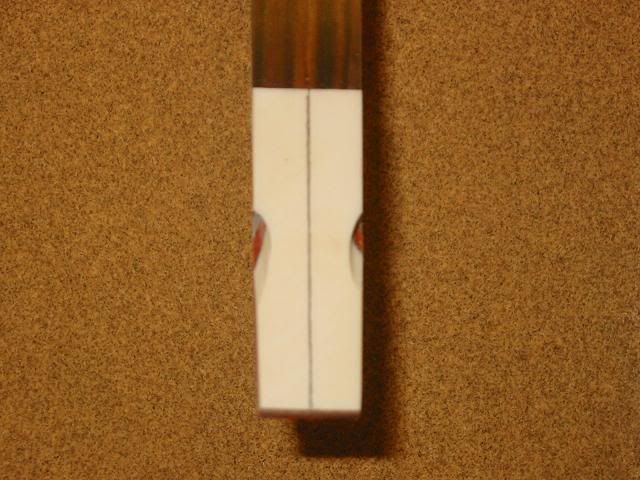
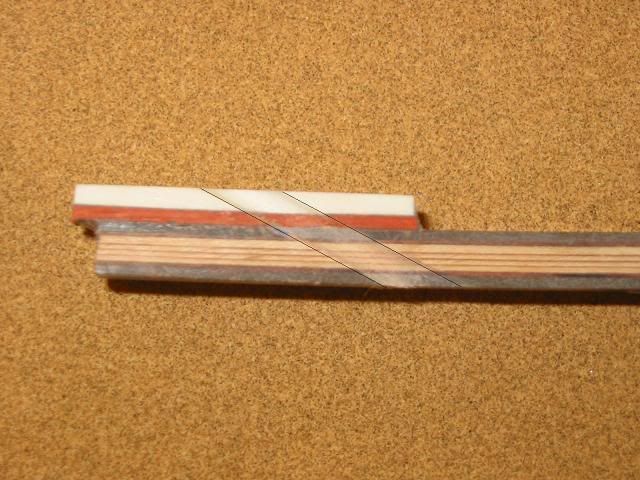
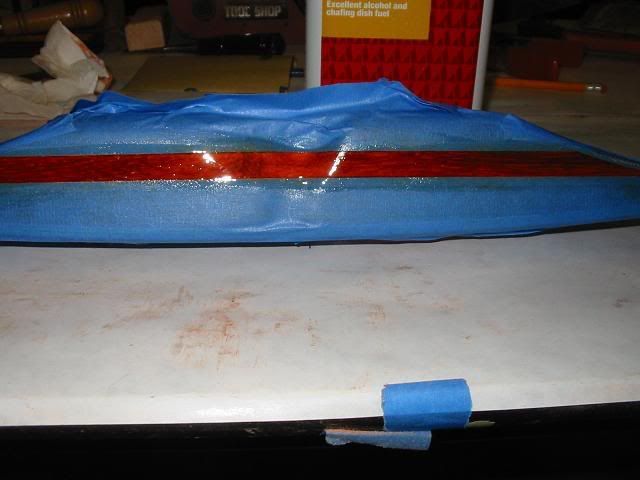
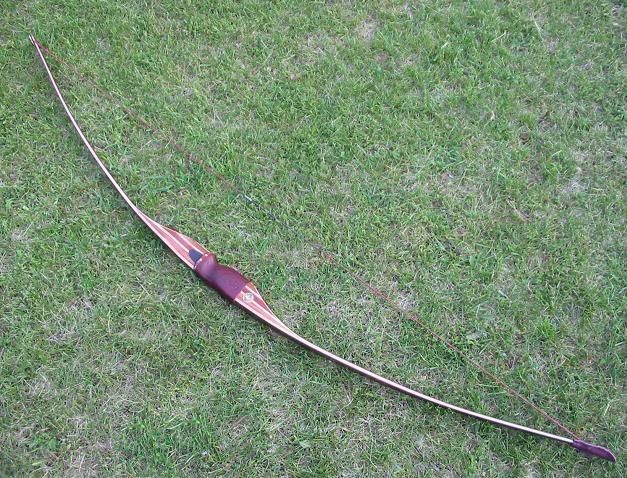
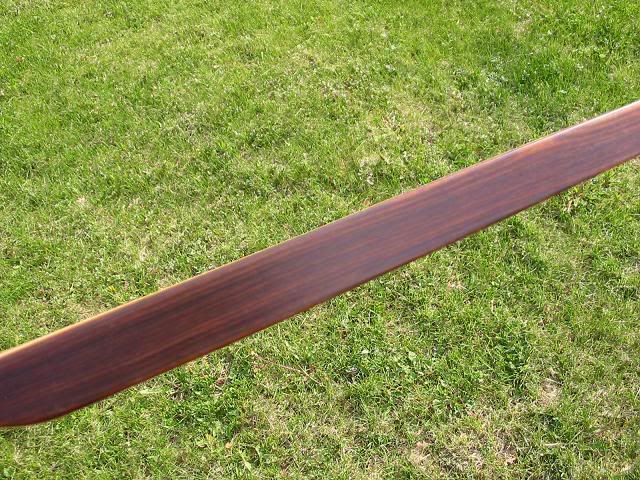
It was a day of ups and downs on the bow project. It took a solid hour to free the bow from the form. Removing the spring clamps was easy, The epoxy covered strips of inner tube proved to be a bit tougher. The form cleaned up easy because of all the tape I used to protect it. 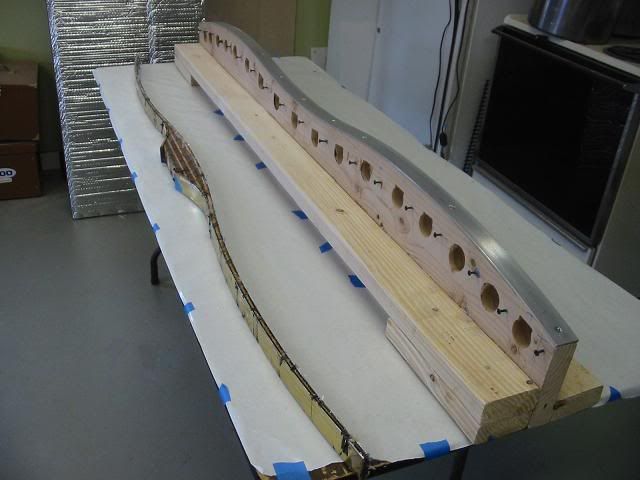 The bow was a little tougher. The extra epoxy was everywhere and held bits of the inner tube captive.  To save on a mess in the shop (and because it was a nice day) I took the bow out to the back patio behind my shop. The breeze would blow all that nasty fiberglass dust away. 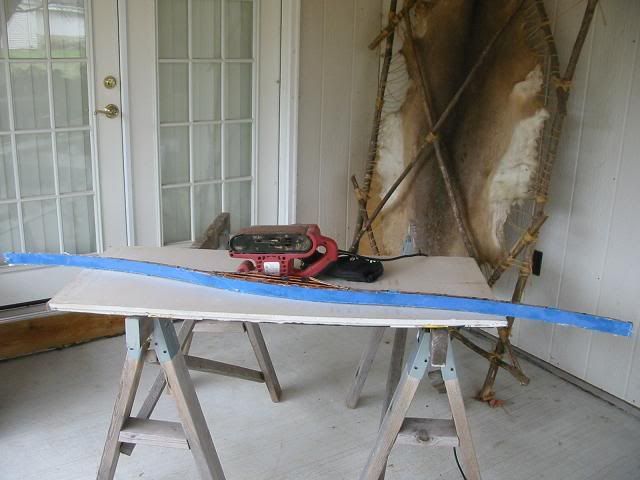 I learned that I need to place a layer of plastic wrap between the last layer of glass and the aluminum pressure strip. I didn't do that with this bow and needed to sand away the excess epoxy to free it from the bow. This also gave me my first look at the glue lines between the layers of wood. 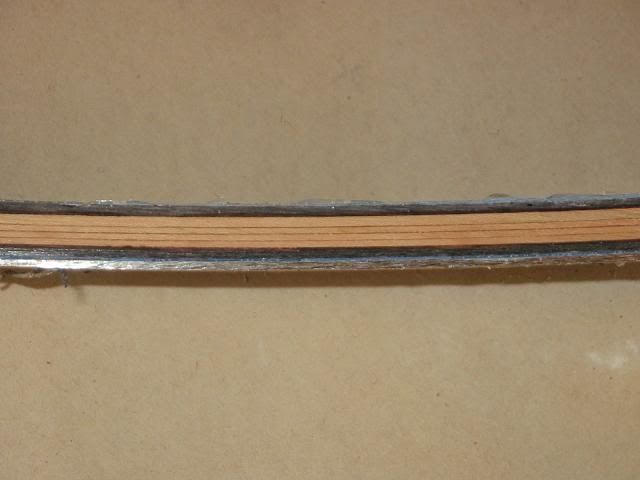 after sanding both sides I could pry away the aluminum pressure strip. 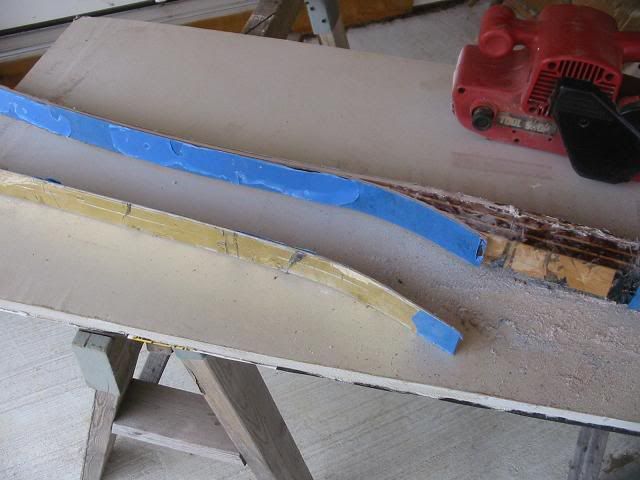 Then I just had to peel away the tape to see how the Kingwood looked under the clear glass. 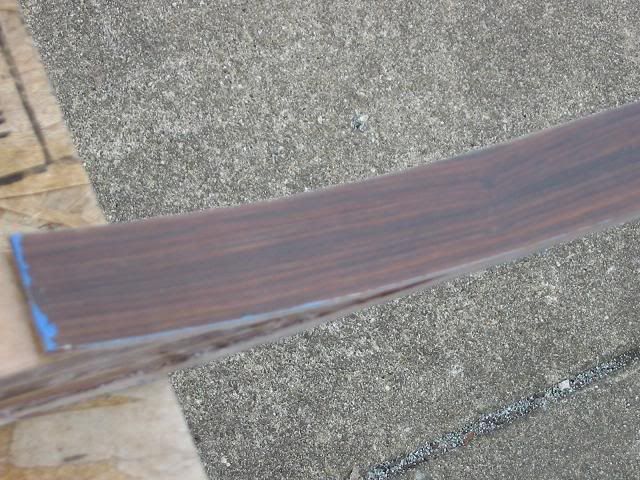 And the other limb. 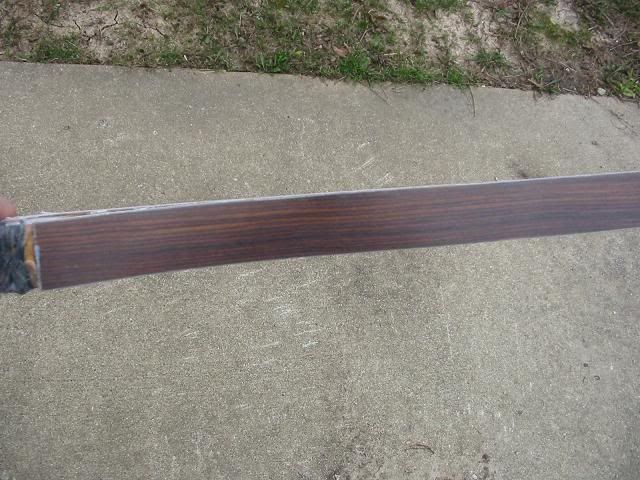 and finally the back of the bow. Everything looked good. 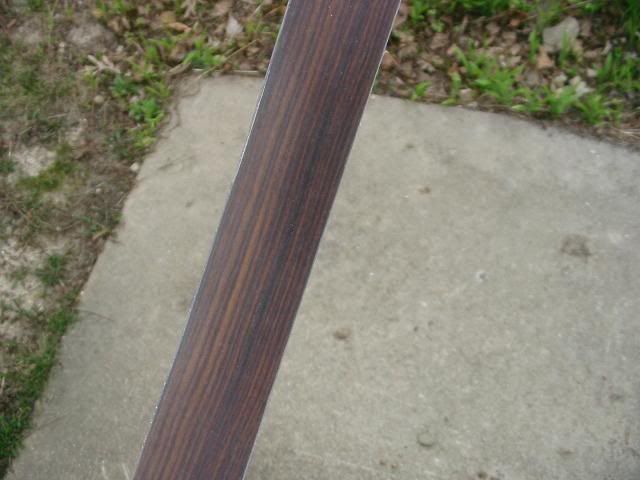 Then I worked on the riser. there was a lot of epoxy to remove. 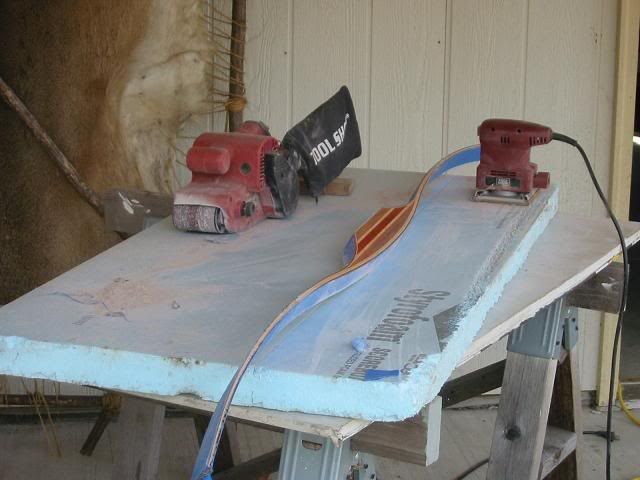 The risers looks good and so do the skive cuts that joined the strips of maple 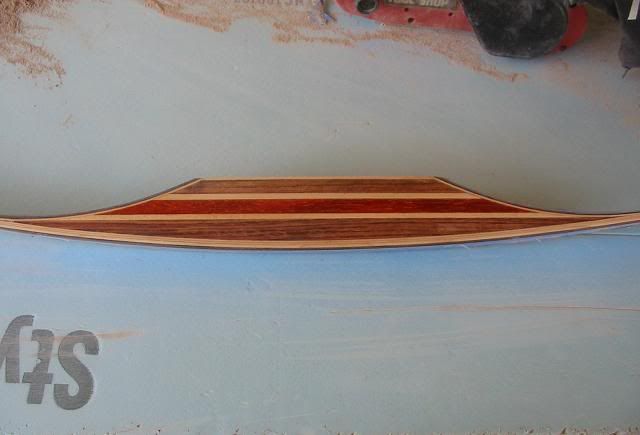 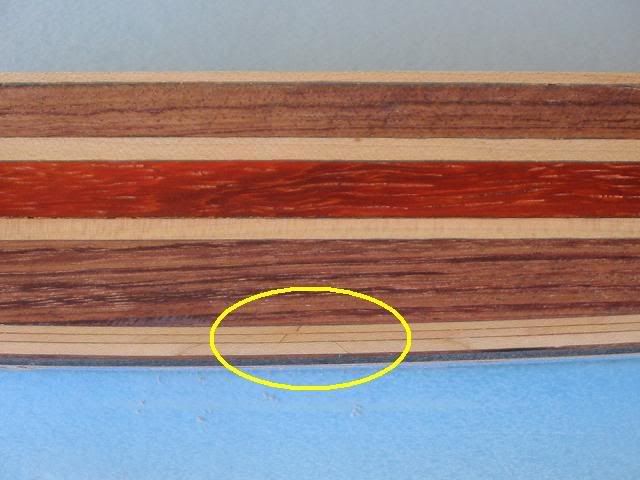 I then made a line on each end of the limbs that was 34 niches from the center point of the bow. (68 inches overall length) I used a fine tooth hacksaw to cut the ends off. 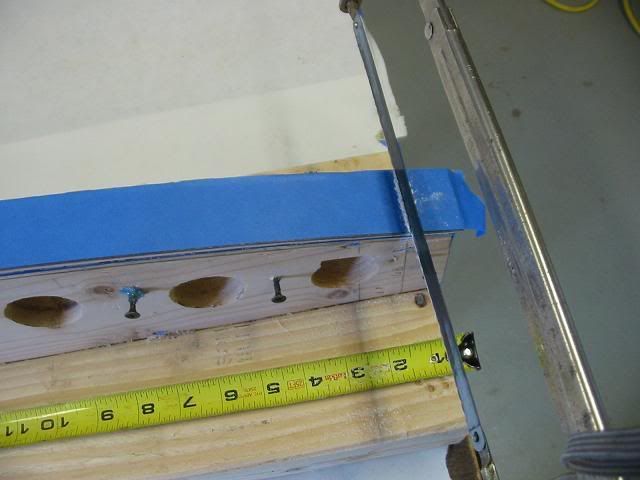 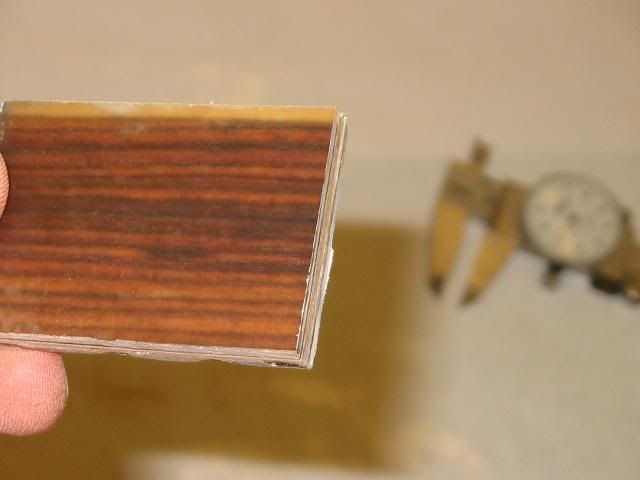 Both ends measured the same thickness. 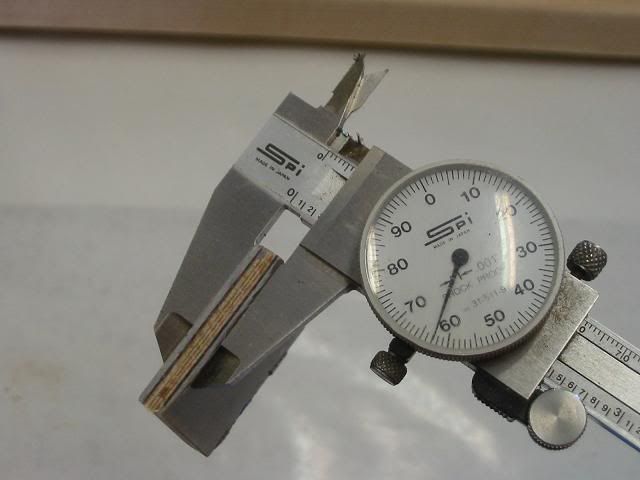 Then I used the washers to string the bow before I cut the string grooves. 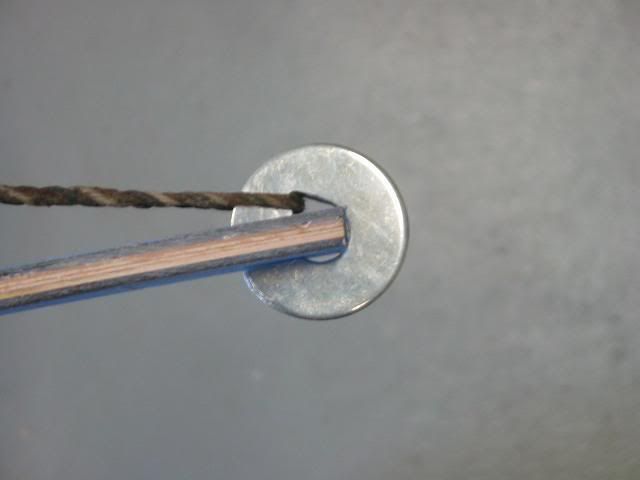 Here is is strung but with a bow string that is too long so the brace height is only about 5 inches. I used the string from my longbow. It is the only string I have for that bow. (that is an important point that will be realized a bit later. 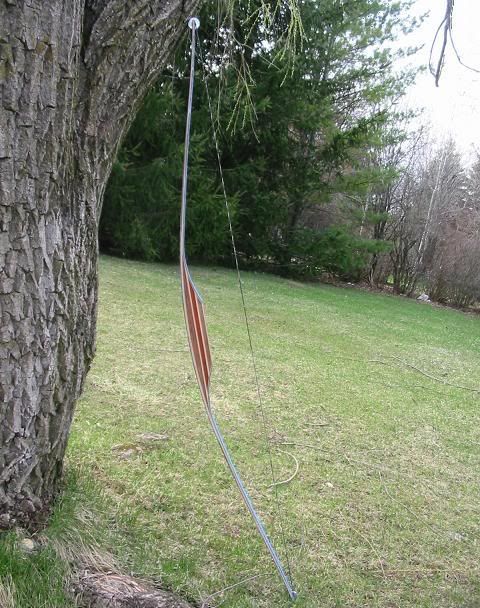 To check for limb twist, I wanted to look at more than just saw cuts at the ends of each limb so I took a carbon fiber shaft and taped it in place on each limb. I made sure they were at 90 degrees to the limb.  With the washers in the measured center of the limbs, there looks to be no twist in the limbs. 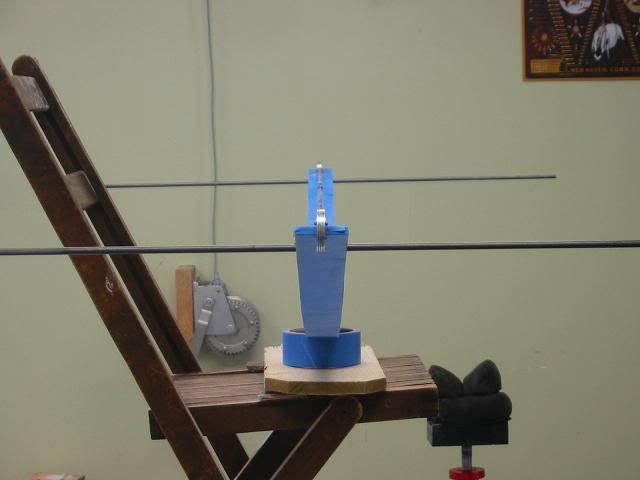 I marked the centerline of the bow along the entire length and used a strip of wood to mark a straight line for the limb taper toward the string nocks. 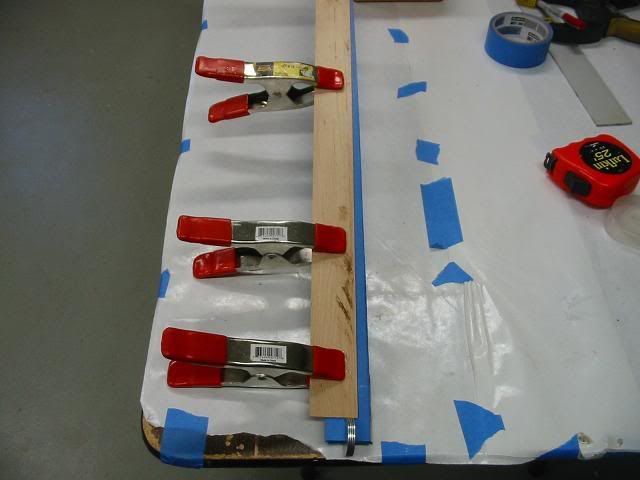 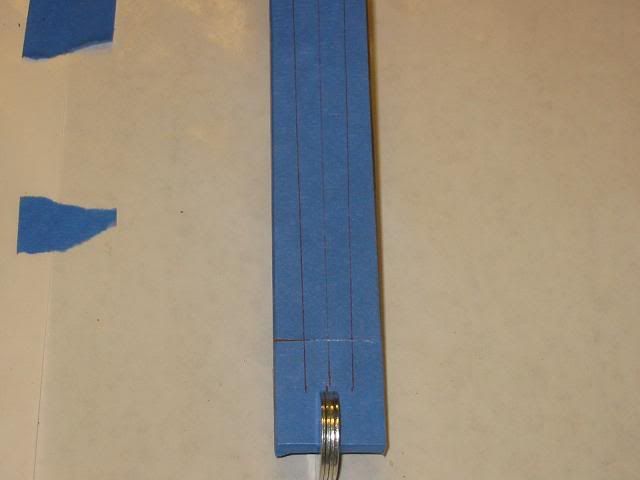 Just as I was marking the last line on the other limb, all hell broke loose, Something whacked me in the finger and the bow jumped up off the table. When I figured out what it was, I had to search high and low for both washers. The bow string (my only string for my bow) had broke. My guess is that I left too sharp an edge on the inside of the groove and it cut through the string. Now I have no string for either bow. Time to scramble and locate a 64 inch string for my bow and a 63 inch string for the new bow. 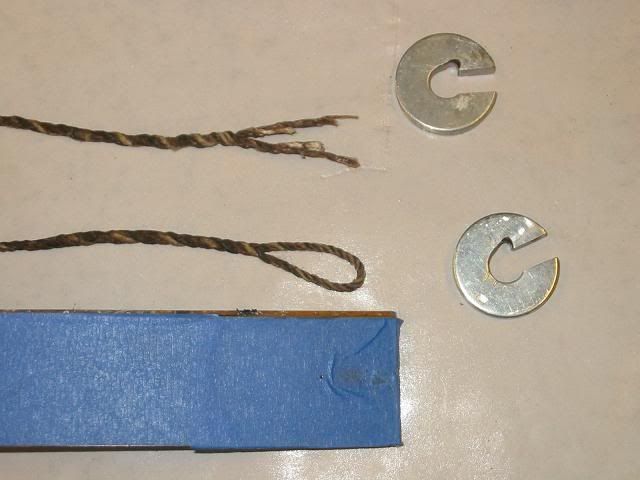 |
|
|
|
Post by Ron Kulas on Oct 18, 2008 20:02:58 GMT -6
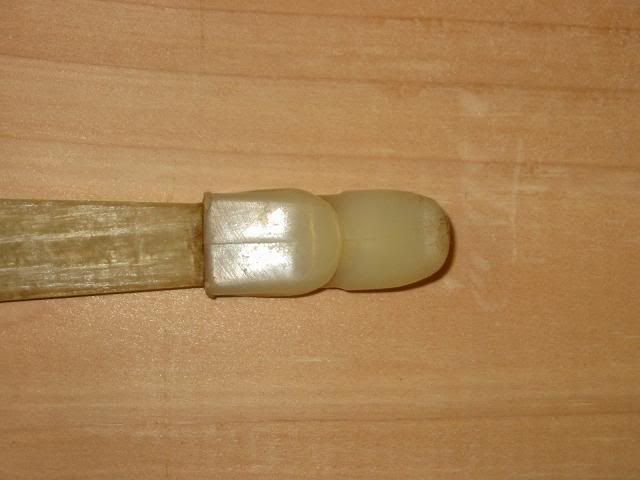
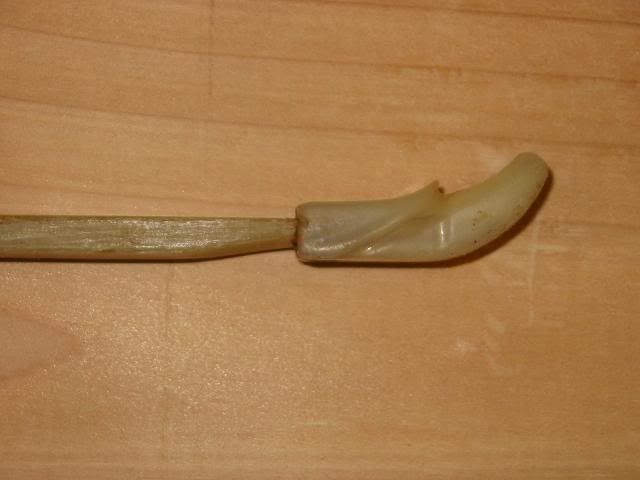
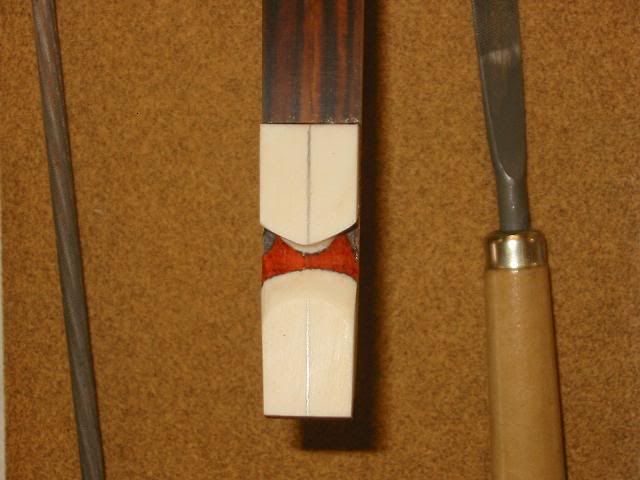
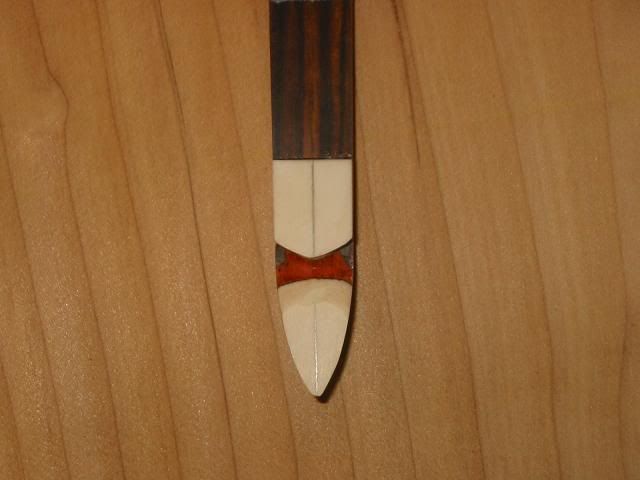
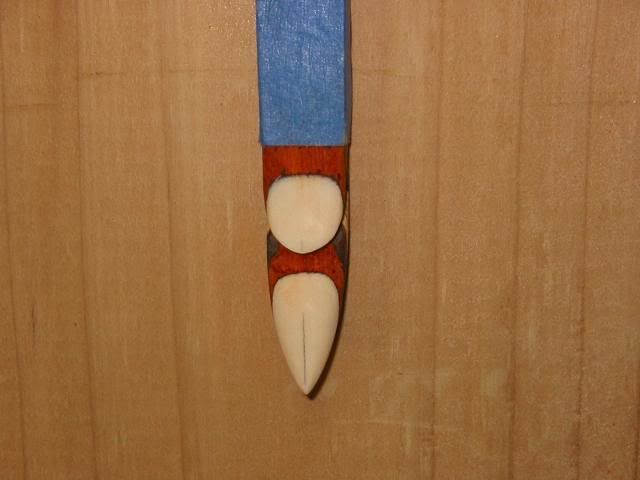
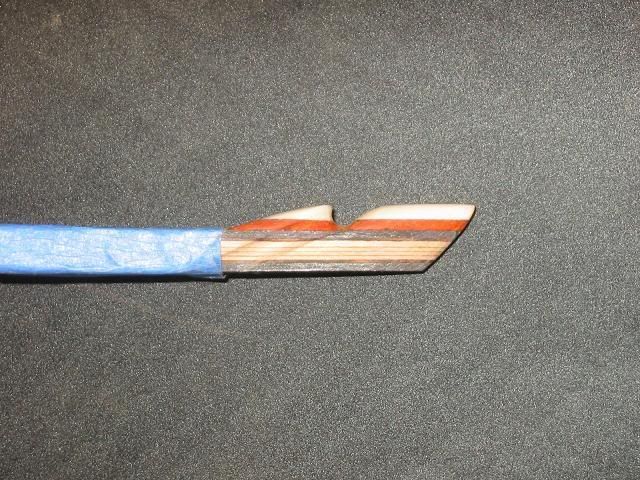
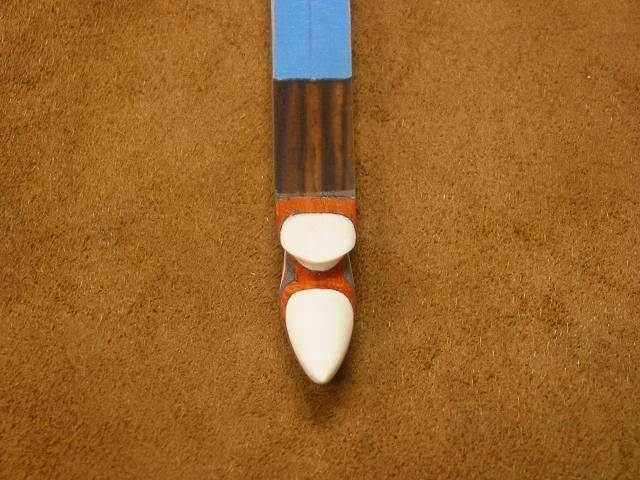
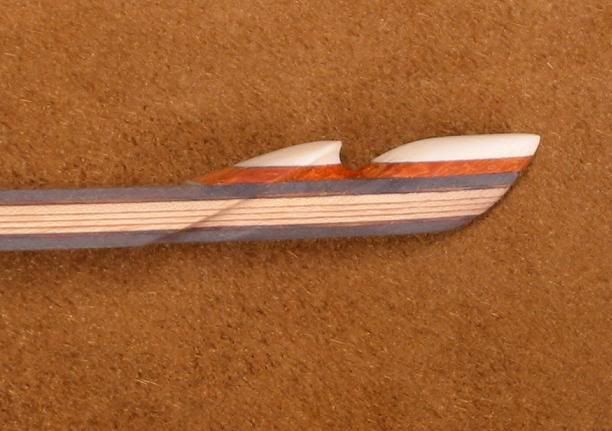
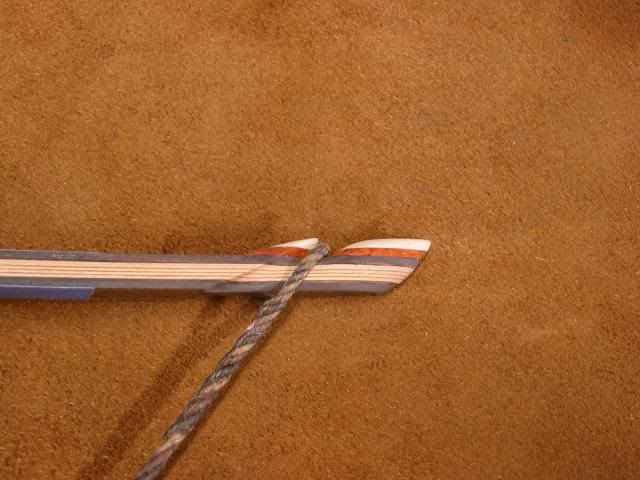
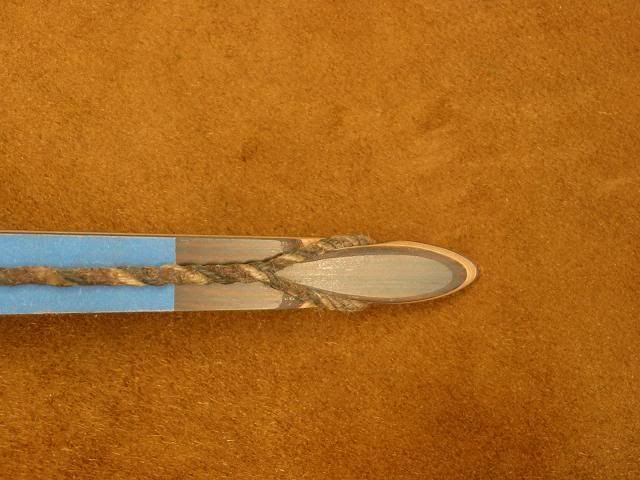
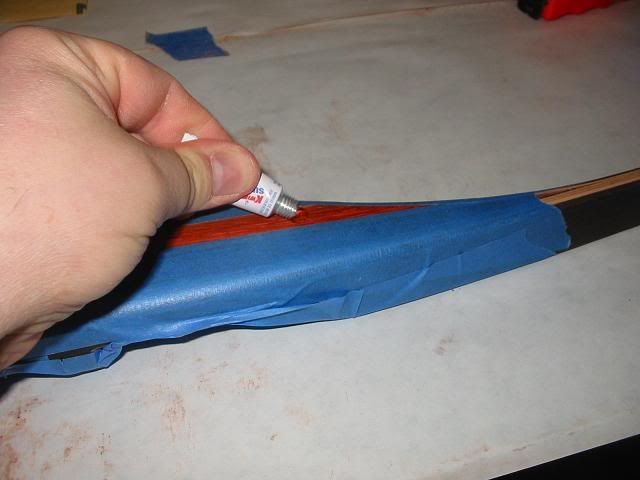
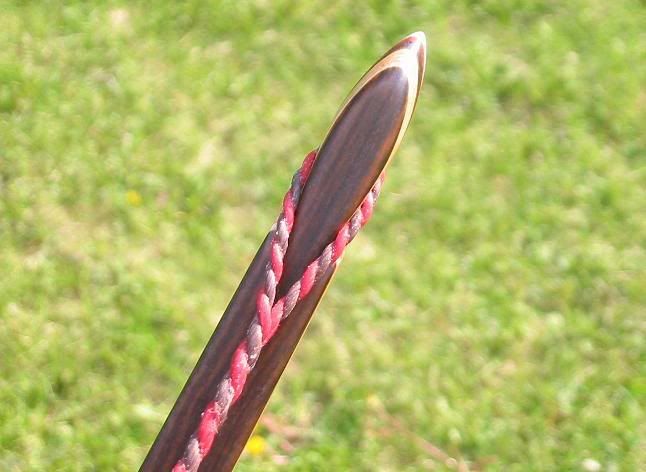
Today was a better day. If there is such a thing as a good time for a string to break, I guess I am lucky. I have a lot of work to do before I need a string again. I used my belt sander with a 50 grit belt to grind down the limbs to the lines I scribed. 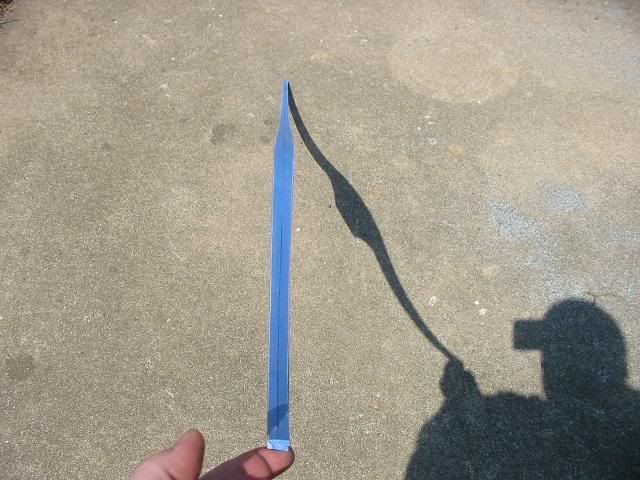 Next, I marked the location of the string grooves in the ends of the limbs. 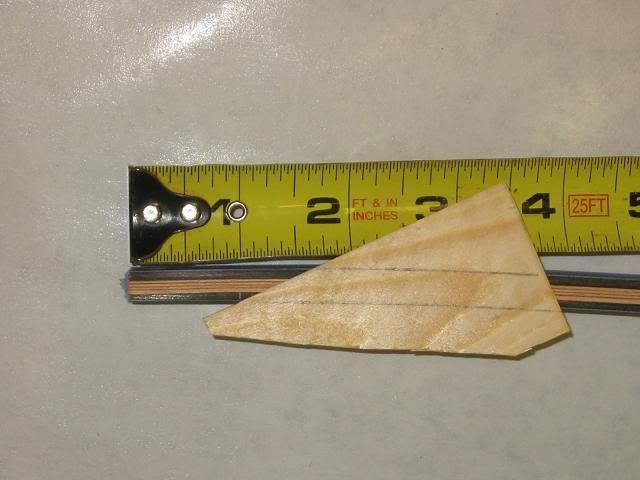 Using a chainsaw file I made the beginnings of the string grooves. This will help me locate the tip overlays. when they are installed, I can finish the grooves.  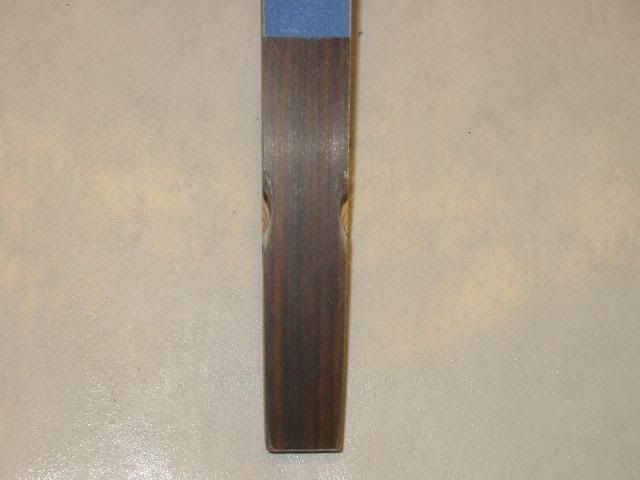 For the overlays, I want to use Bloodwood and antler. The Bloodwood will match the accent strip in the riser and the antler is just something I wanted to try. I had a section of antler left over from a knife handle I made. I will use the longest tine as it has no pithy core. It is solid all the way through. 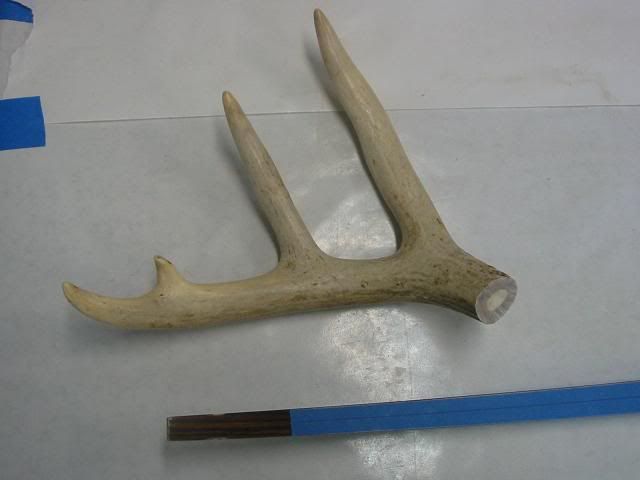 Using the belt sander, I created a flat spot on the antler that will run against the rip fence of my table saw. I am using a carbide tipped finish blade so I get less chipping and a smooth cut. 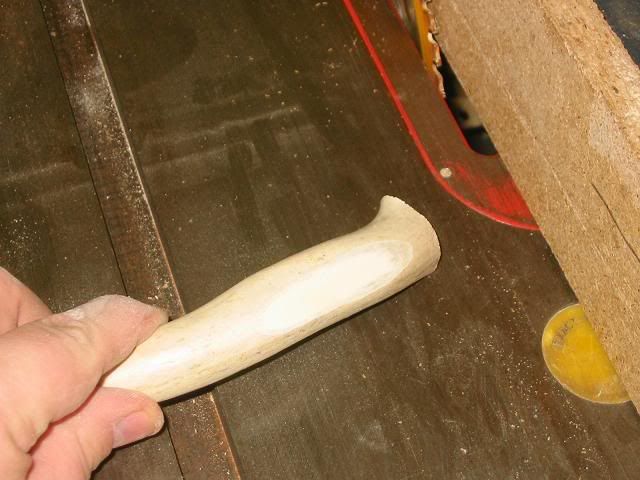 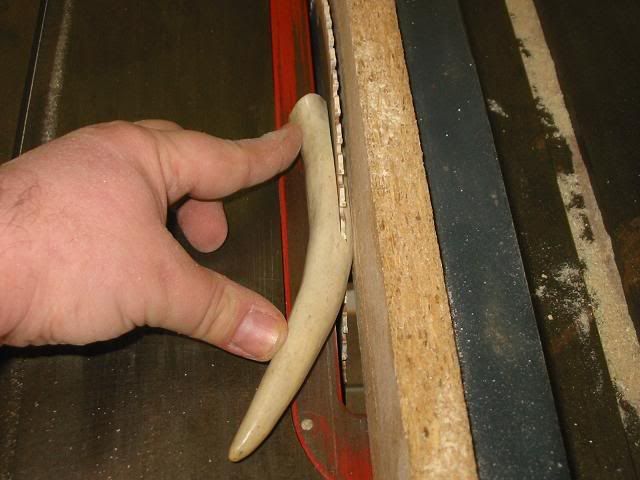 I made the strips about an 1/8th of an inch thick. 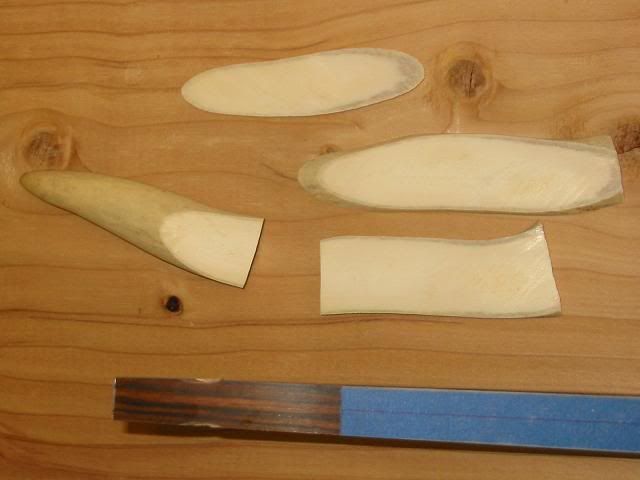 In order to get the best adhesion with the epoxy, I needed to rough up the shiny surface of the clear glass. I used a hacksaw blade as a scraper. I did the same to the bloodwood and the antler. 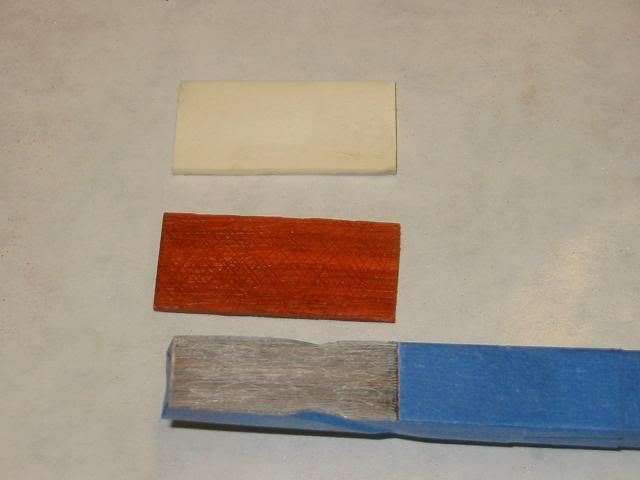 I used the same epoxy, I used for the rest of the bow build. 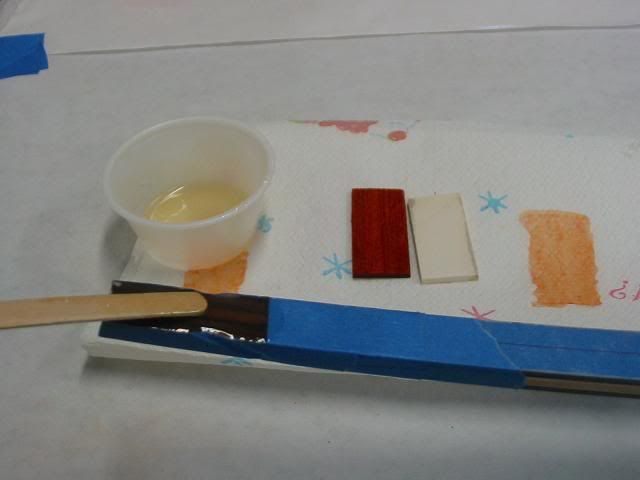 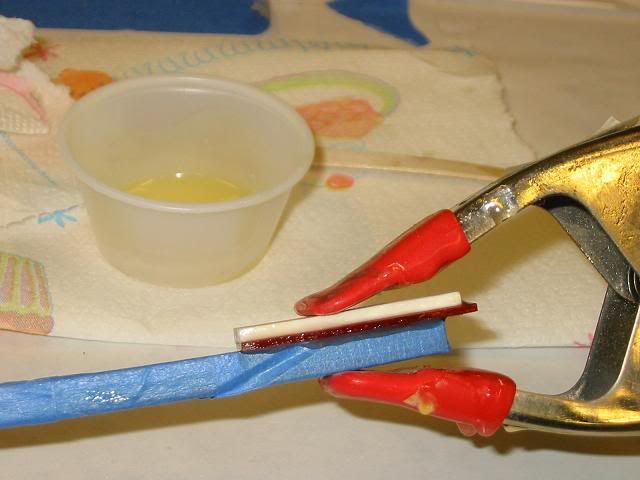 I used only one bulb under each tip and some of the left over insulation from the hot box. Not much I can do except make the tillering tree. 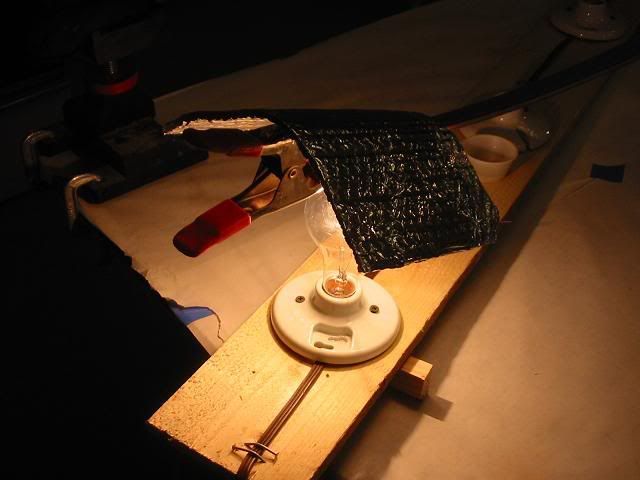 |
|
|
|
Post by Ron Kulas on Oct 18, 2008 20:03:55 GMT -6
|
|
|
|
Post by Ron Kulas on Oct 18, 2008 20:05:01 GMT -6
I've been a bit busy lately so time spent on the bow project has been short. I did get a replacement string from a very kind young man on a traditional archery site where I have been keeping this same blog. He sent not one but two strings for Josh's bow. I offered to pay him and he would hear nothing of it. Trad folks are really good people. He even matched the colors of the riser. 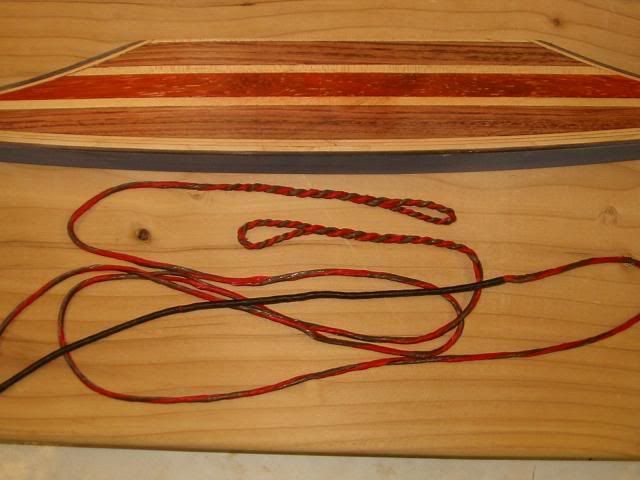 Before I could use the new string, I needed to build a tillering tree to check the limbs for even bending. I had a section of treated 2x4 up in the rafters of my garage for a few years so I knew it was good and dry. I drilled a series of 3/4" diameter holes at a 15 degree angle in the edge of the 2x4. The holes are 2 1/2 inches deep. In those holes, I glued short sections of 3/4 inch wooden dowels. I then sanded them to round off any sharp edges. 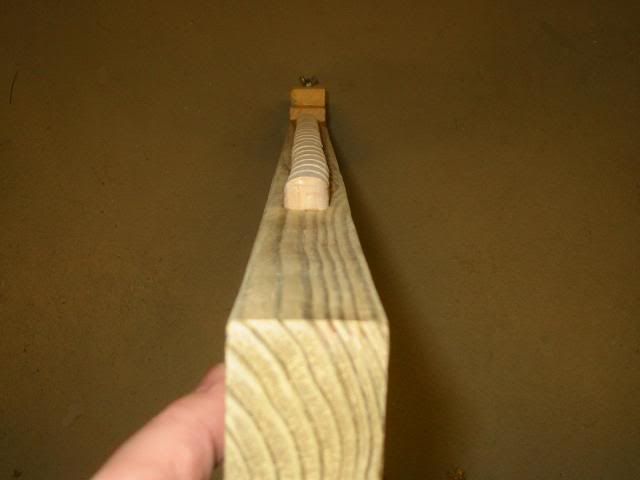 And marked off the distances along the side. 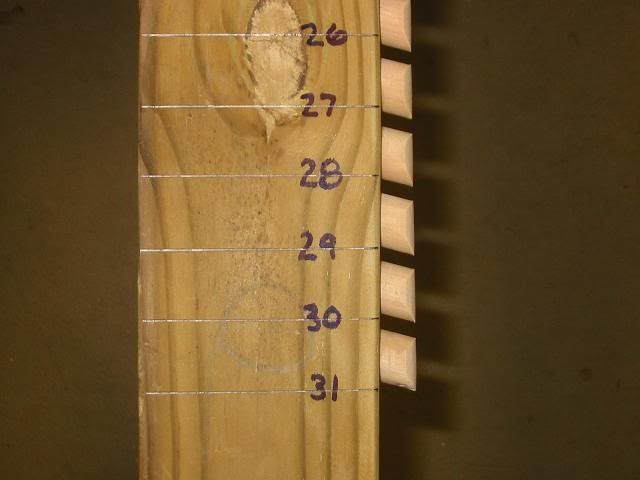 This is the bow holding end of the tree. I use a piece of leather to protect the riser when I clamp the bow in place. 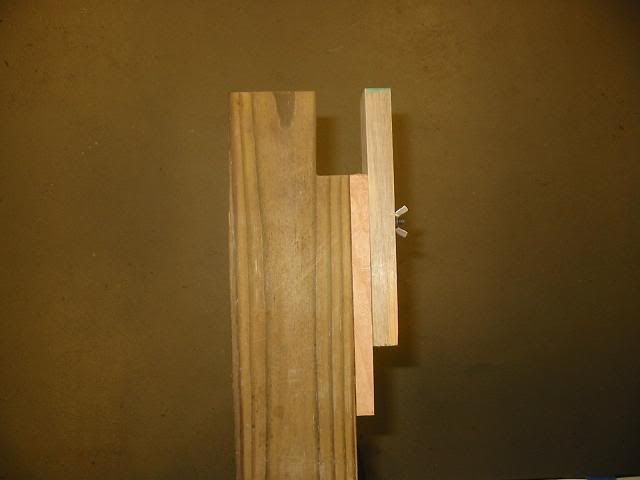 I attached a plywood base so it would stand by itself. 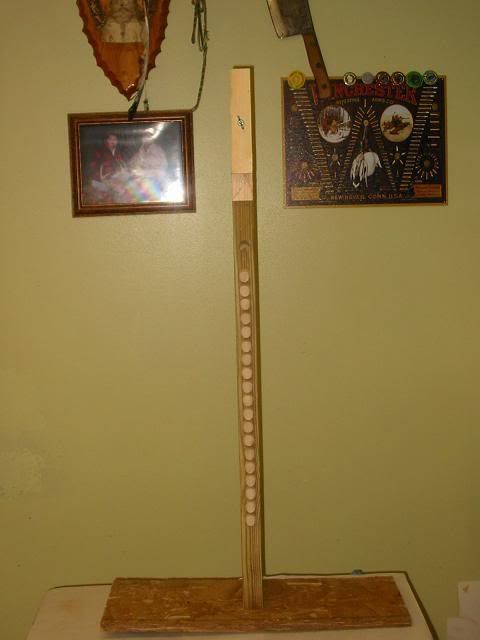 With the string grooves filed and the tillering tree finished, I strung the bow for the first time. and drew it back. It was a good feeling. I then put it in the tree and drew the bow to a few different lengths to see if the limbs were flexing equally. Here are the pics. 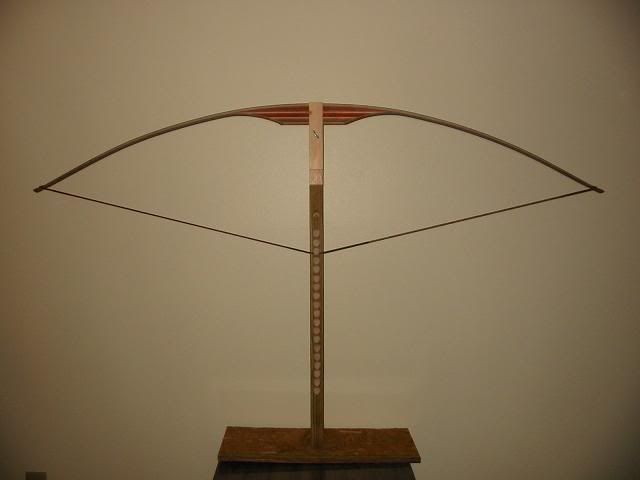 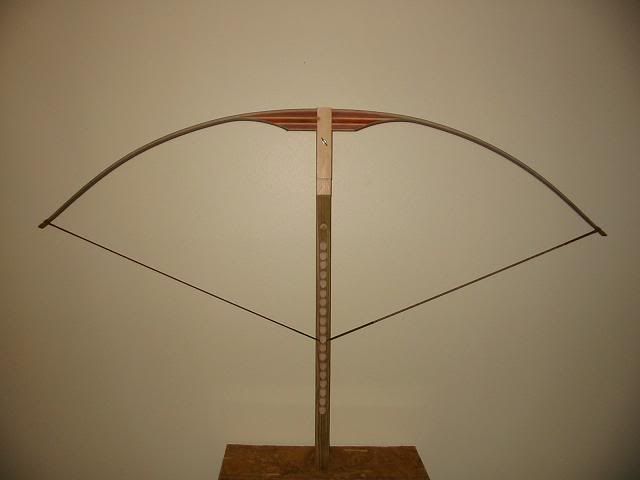 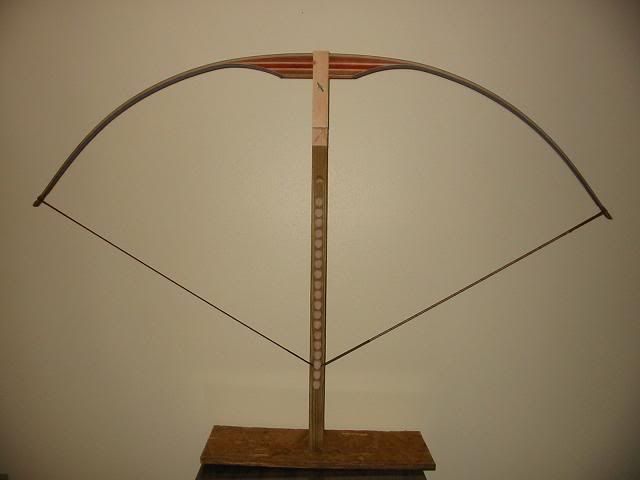 I can see some differences in the flex of the limbs. I will sand away certain areas to make the limbs act the same. Lessons learned. I could have left out every other wooden peg. I really don't need one at every inch. |
|
|
|
Post by Ron Kulas on Oct 18, 2008 20:05:49 GMT -6
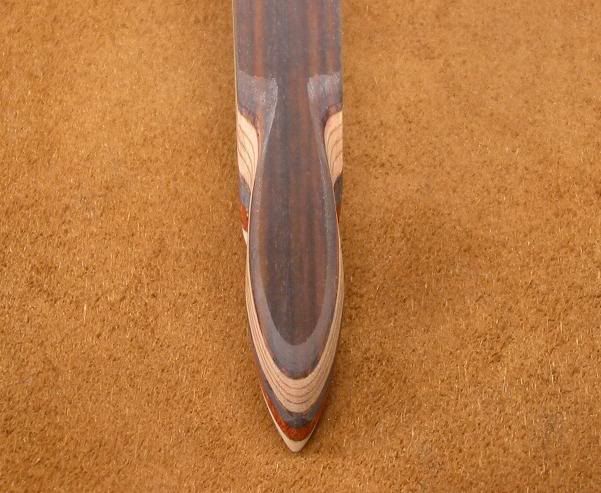
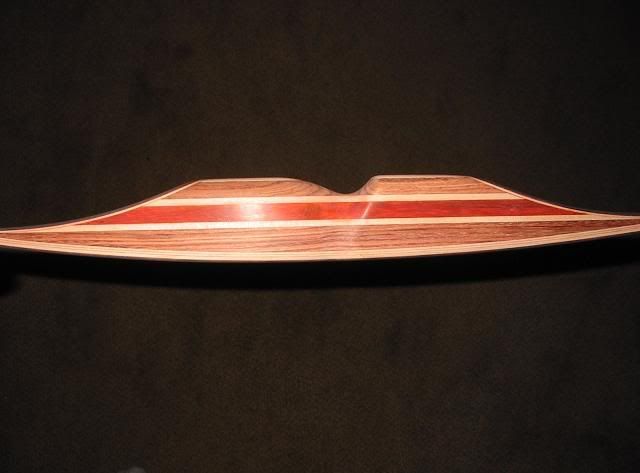
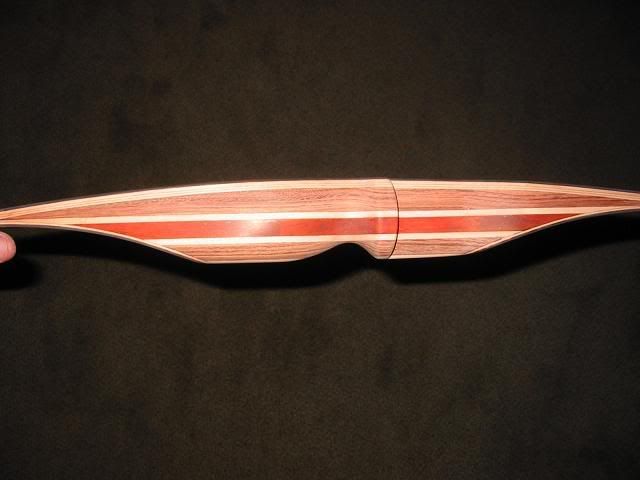
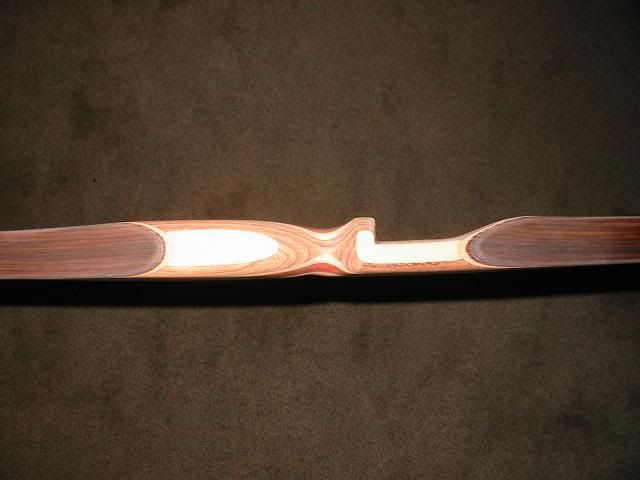
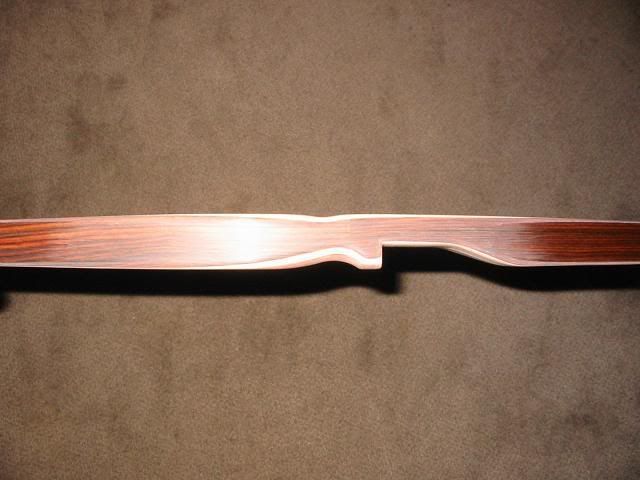
I still needed to cut out the sight window and shape the grip. I drew the window onto the tape on both the back and belly of the bow. The window will be 1/8th inch less than center. 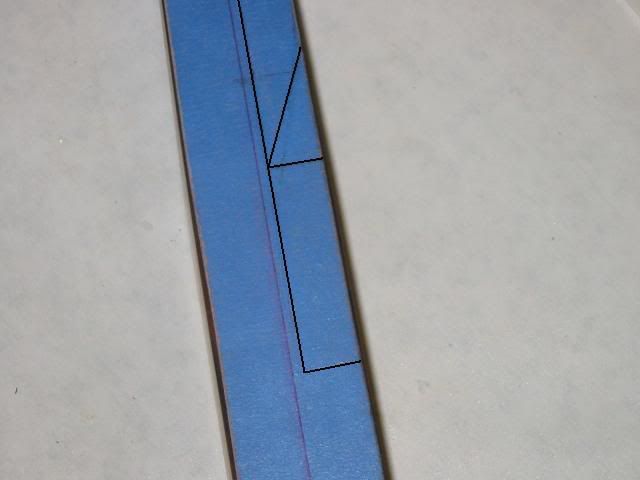 I used a hand saw and chisel to remove the wood. 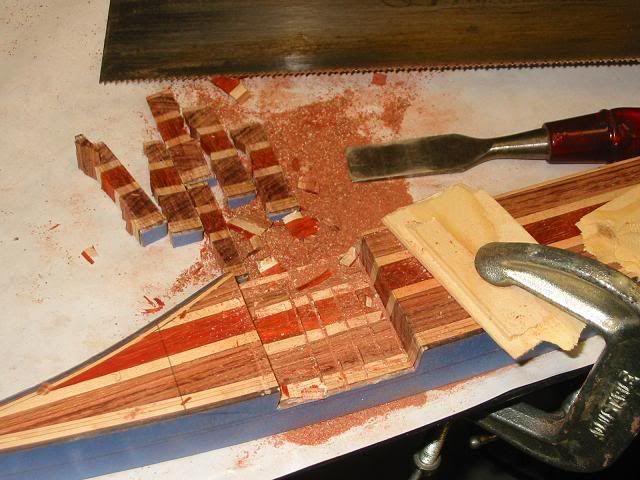 And then sanded it to the lines. 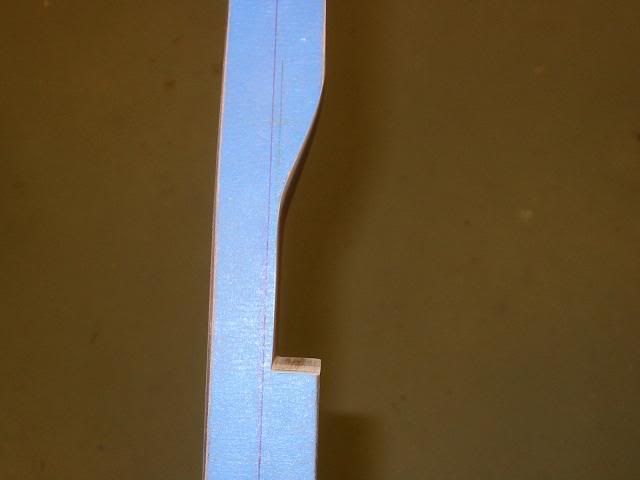 I put a crown on the shelf. 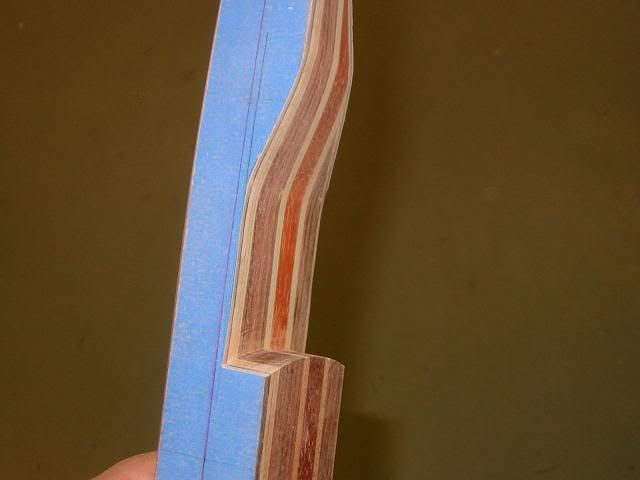 To shape the grip I used a wood rasp and sanding blocks  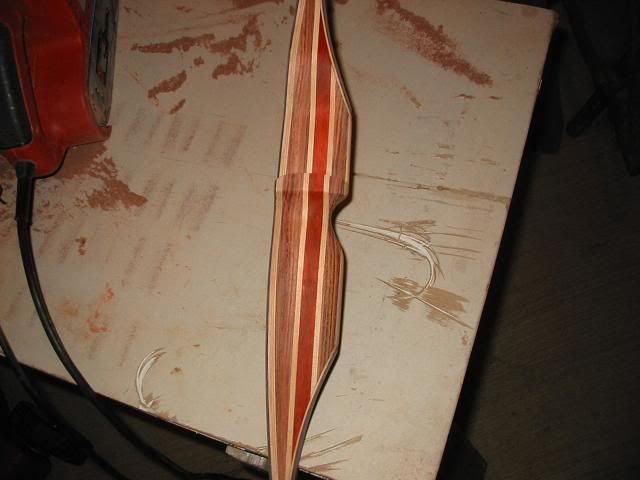 It still is a bit thick and will need to be slimmed down a bit. 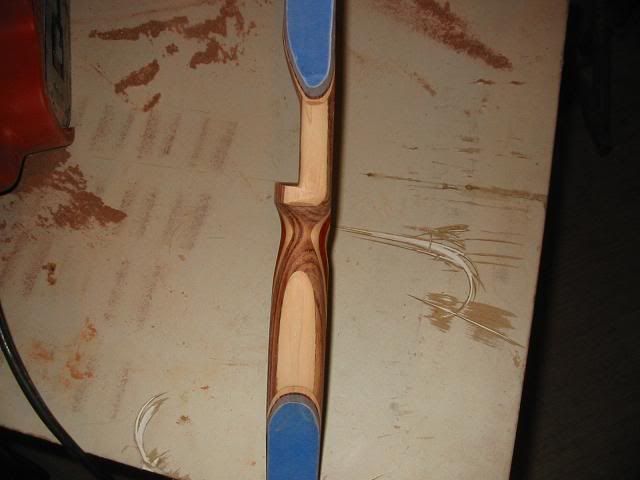  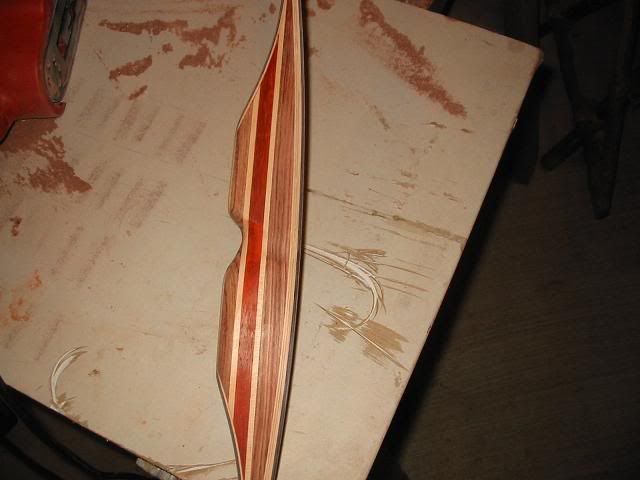 The end user is happy with the fit so far. 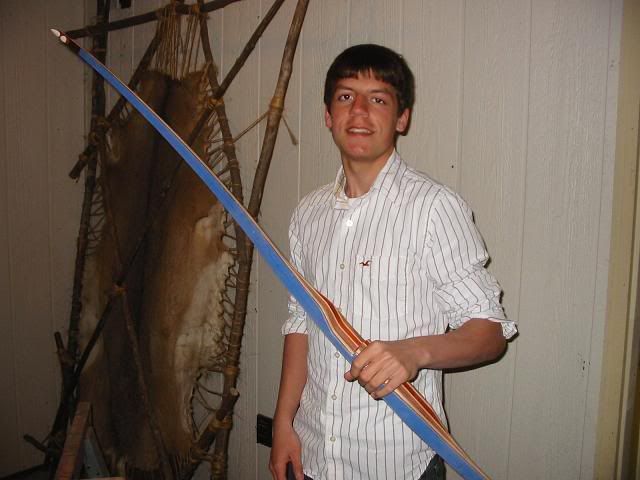 |
|
|
|
Post by Ron Kulas on Oct 18, 2008 20:06:38 GMT -6
|
|
|
|
Post by Ron Kulas on Oct 18, 2008 20:07:29 GMT -6
I wanted to add a medal to the bow's riser and I used a hat/lapel pin that I got at the last Wisconsin Bowhunter's Annual convention. Being that I was a Director for the WBH when I built this bow, I though it would be a nice touch. I drilled a shallow hole for the medal so that it would sit below the surface of the riser. 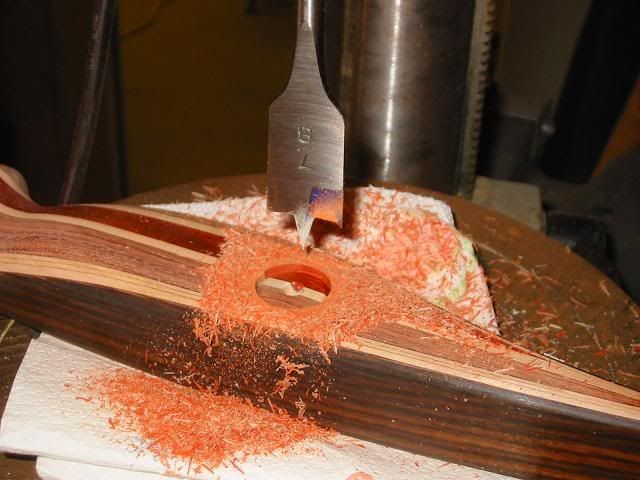 It was a good fit. 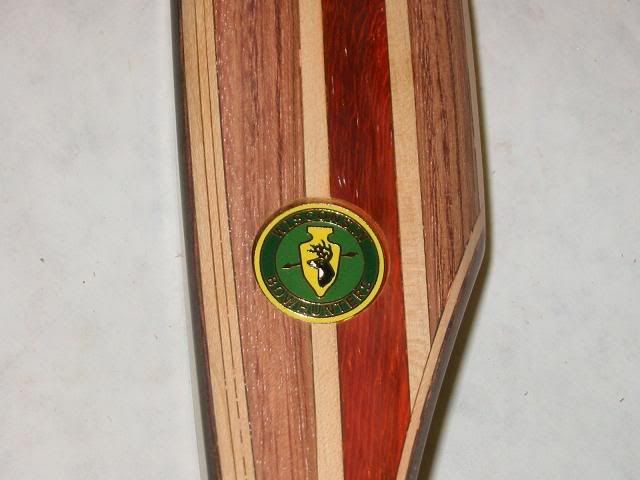 I then masked off the riser and cut away the tape covering the hole. I used two layers of tape so that when I used a putty knife to level the epoxy, It would sit just higher than the riser and allow me material to sand away to make flush. 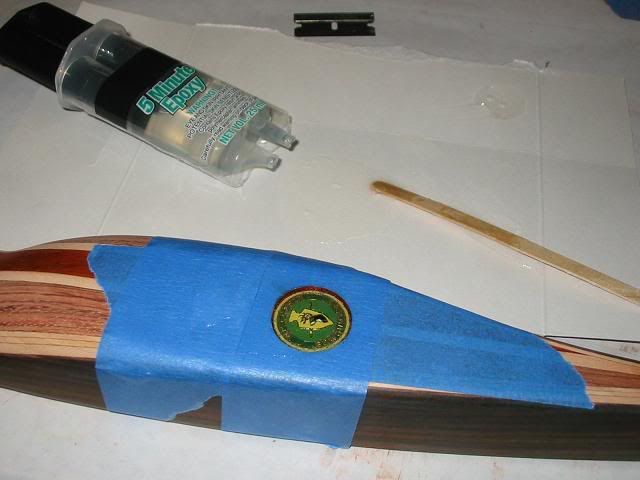 When the epoxy cured, I sanded it so the epoxy was level with the wood. 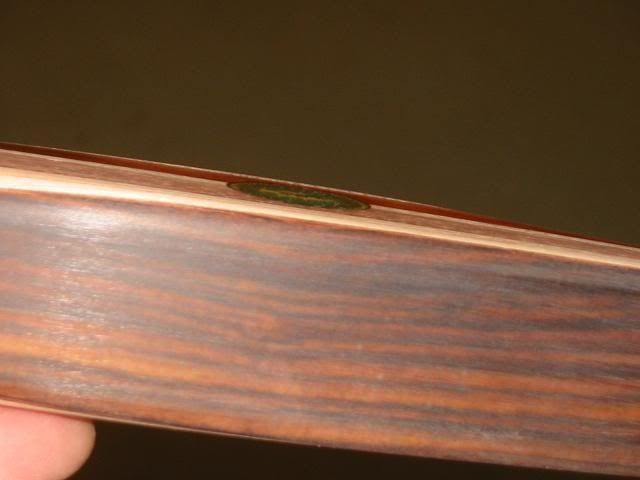 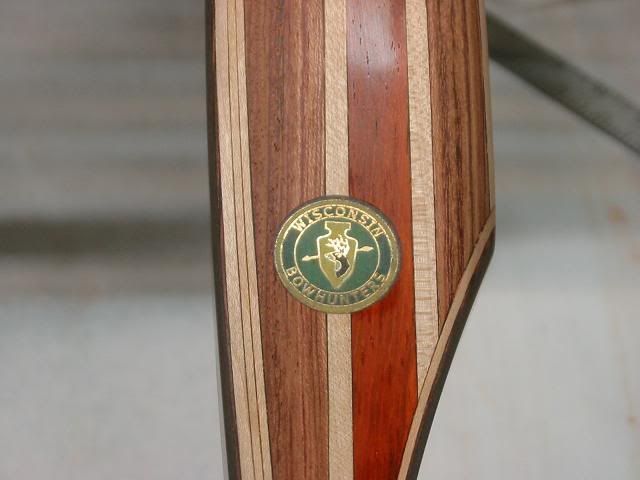 I kept on sanding until I had the whole bow smooth with 320 grit sandpaper. 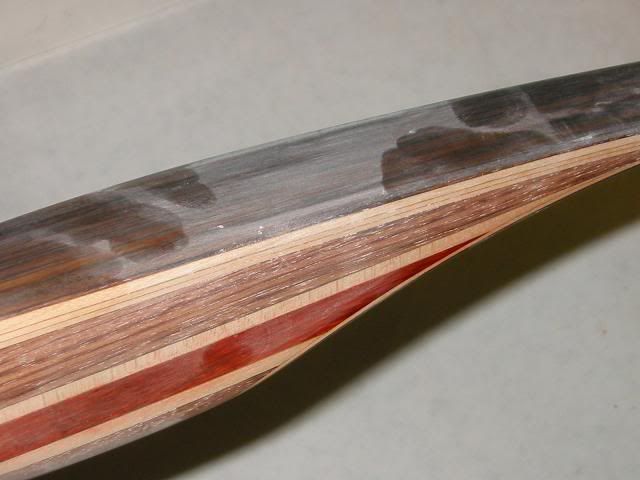 I then cleaned the bow with a tack rag and then wiped it down with denatured alcohol. I masked off the glass because I want to finish the riser with tung oil. 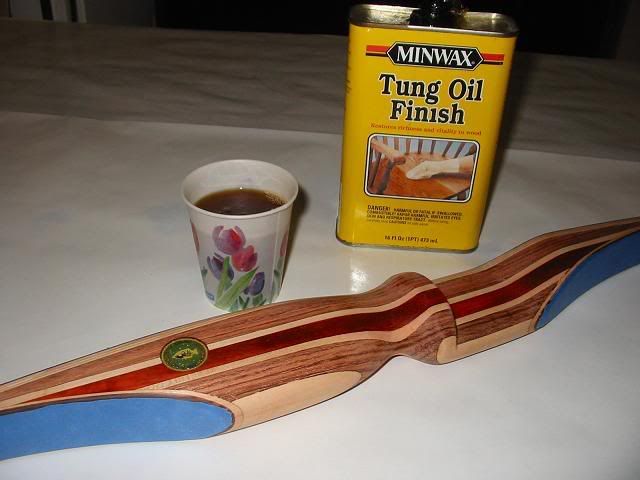 I applied the Tung oil using the same "Brush" I used to apply the super glue to the bloodwood. 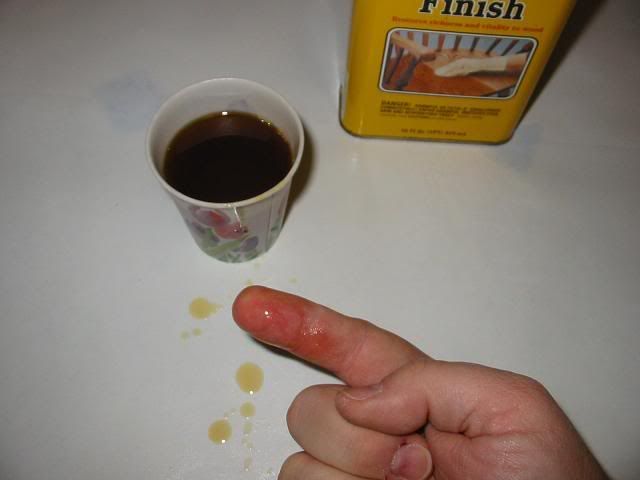 I rubbed in a healthy dose of the tung oil and after it cures, I will give it two more coats. I will then use 400 grit and steel wool to smooth out any lines and give it two more coats. 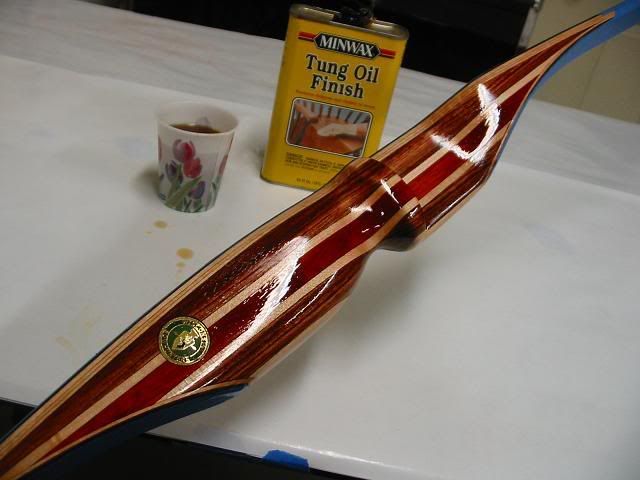 |
|
|
|
Post by Ron Kulas on Oct 18, 2008 20:08:16 GMT -6
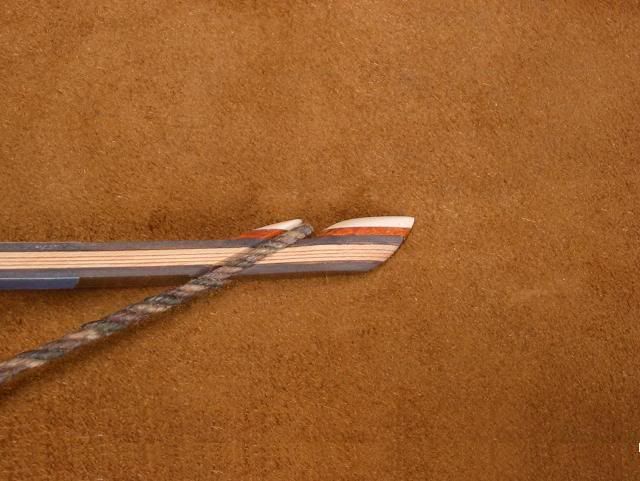
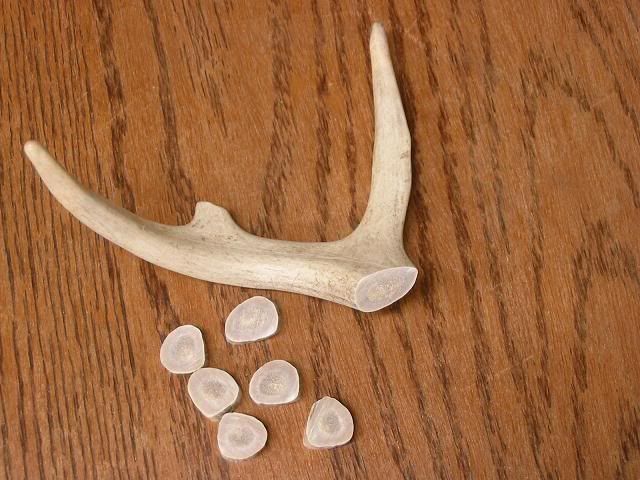
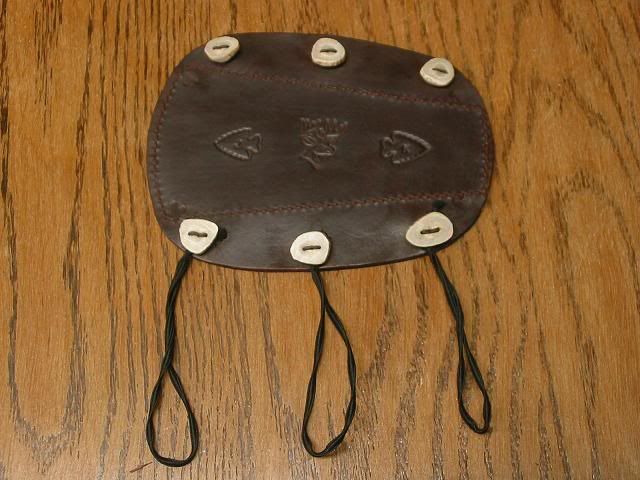
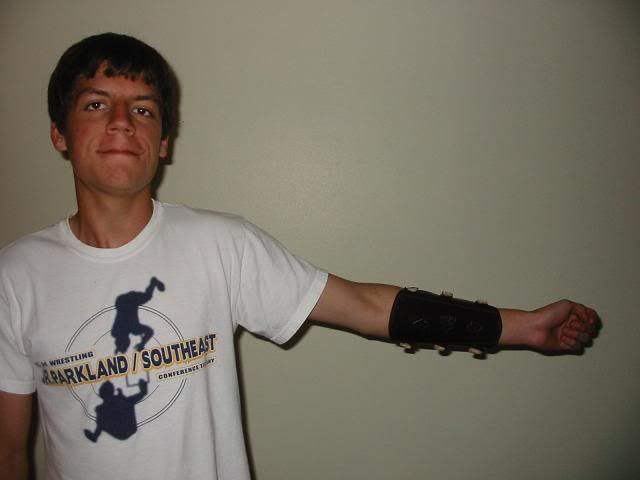
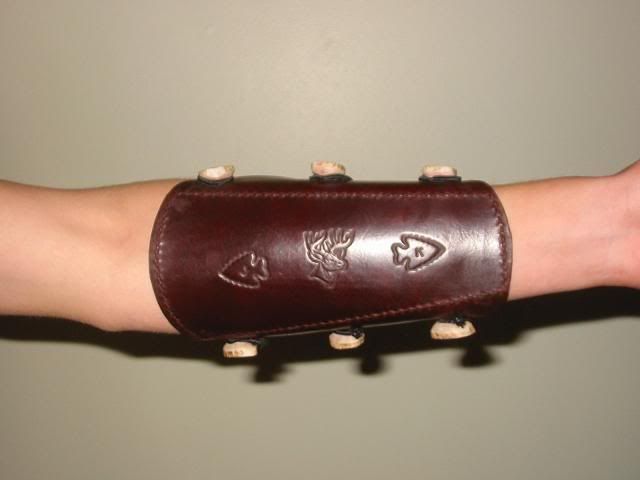
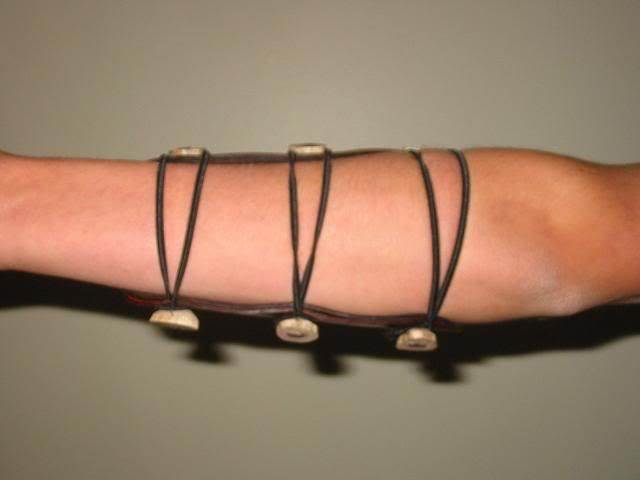
I had a lot of time in between coats of Tung oil so I got a head start on making some of the accessories for the bow. The first thing needed is a bow stringer. I took an old bungee cord that I had removed the hooks from because I needed them for some other project and I cut off one end. 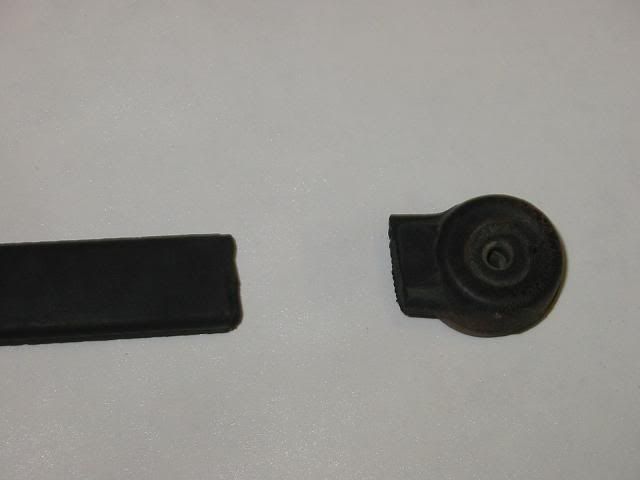 Then I trimmed off one side to create a flat surface. The flat is the surface that will contact the bow limb when being used. It took two cuts to get it where I wanted it. 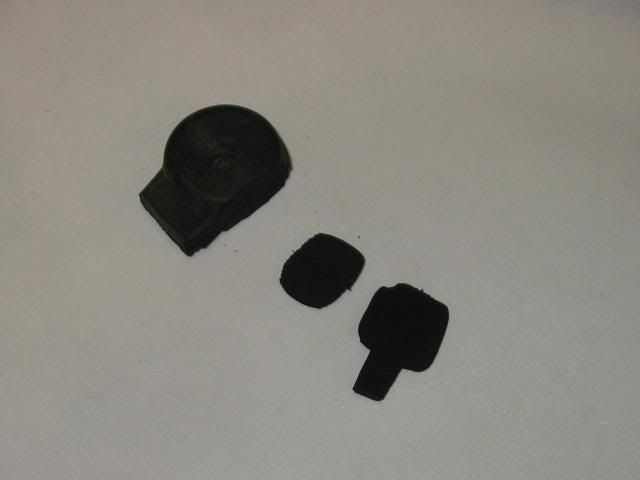 The other end of the stringer will slip over the limb. This part, I made out of a piece of scrap leather. 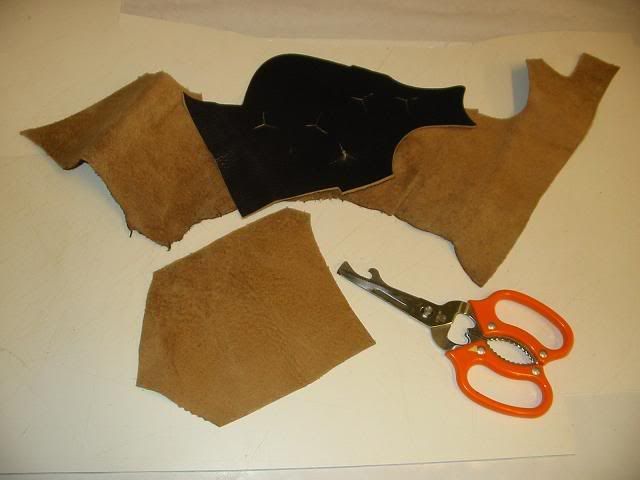 I folded it in two and punched the stitching holes 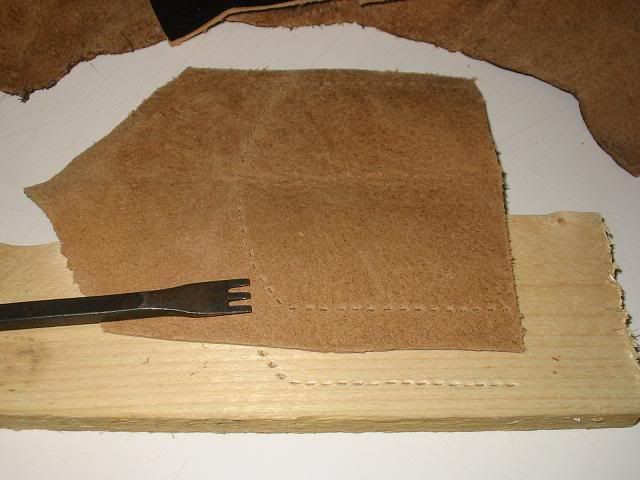 Then sewed it using white, braided, waxed line. 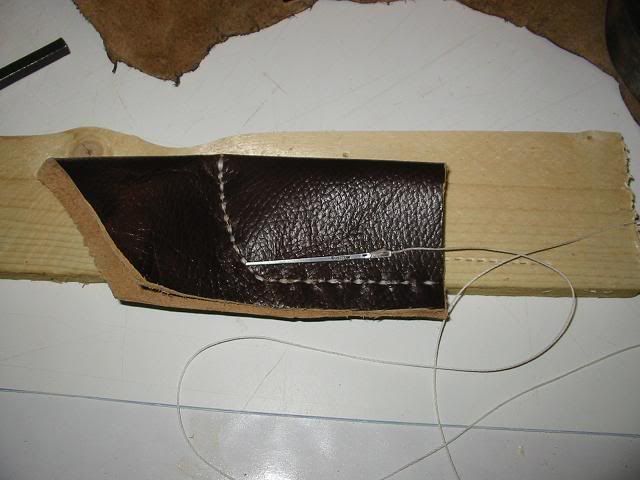 Then I added a grommet for the rope to attach to. 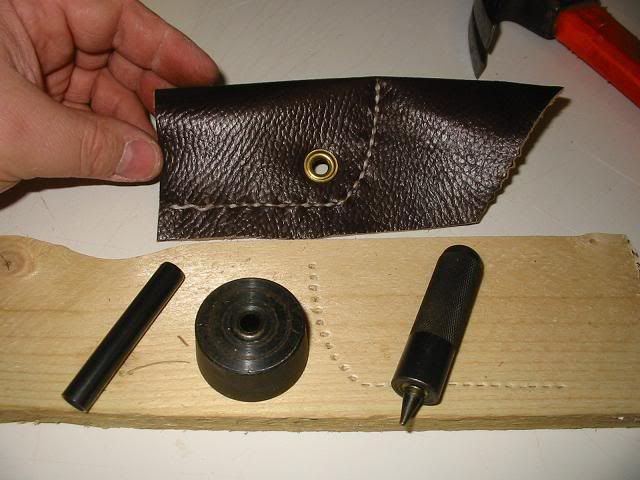 Both ends were then connected using a strong nylon rope. 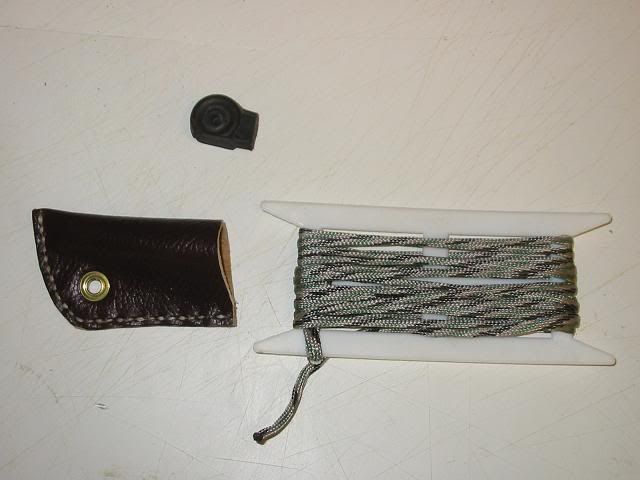 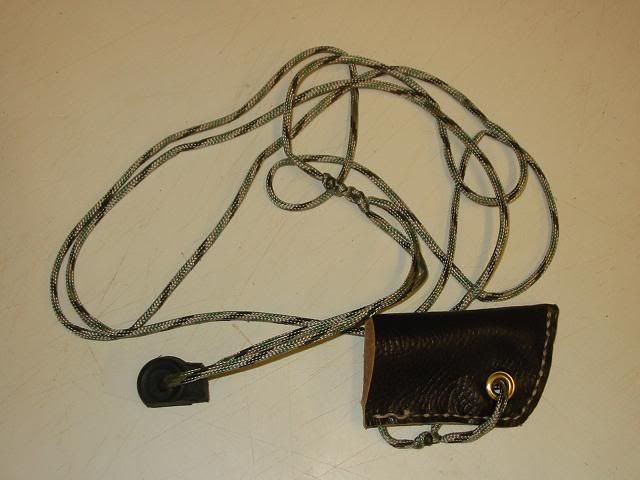 To use the string, On end is slipped over the lower limb tip. 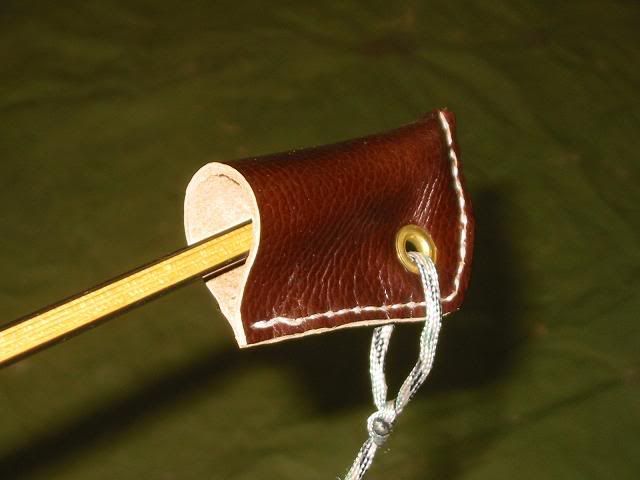 And the rubber end is placed on the upper side of the other limb. The knot is tied far away from the rubber end to allow for clearance for the bow string to pass through. 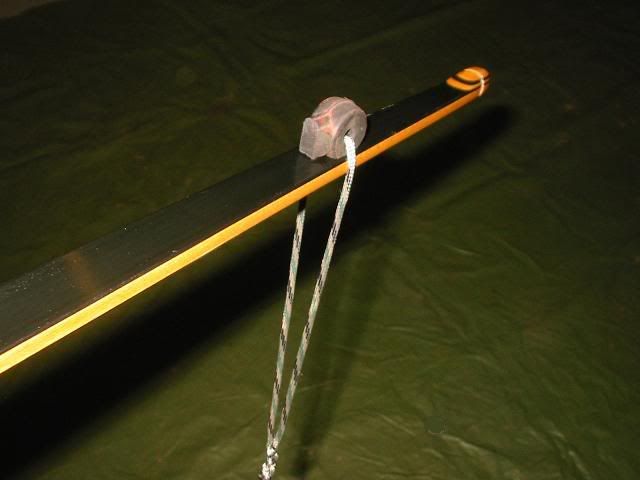 I had Josh try it out on my old longbow since the Tung oil was still wet on his. One hand lifts the bow and the other hand slides the loop of the bow string into the string groove on the limb tip. 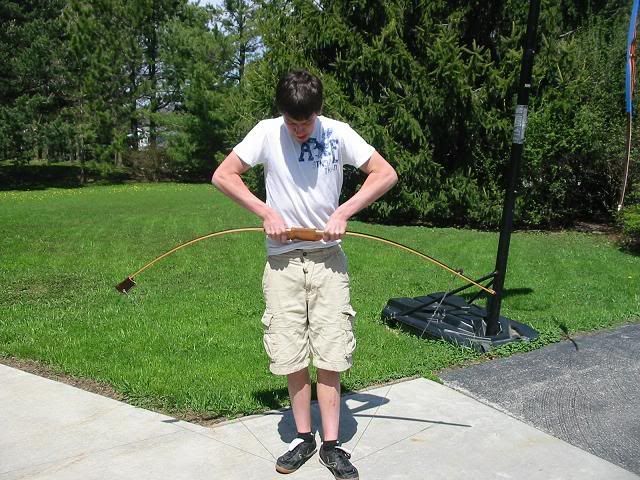 With the string finished, I moved on to a limb tip protector so that nice white antler limb tip won't become damaged when he sets the tip in the dirt. I started with two thin pieces of suede leather and stitched them together to make a nice tight fit over the limb tip. I then cut a long slot in the back side for the bow string to pass through. 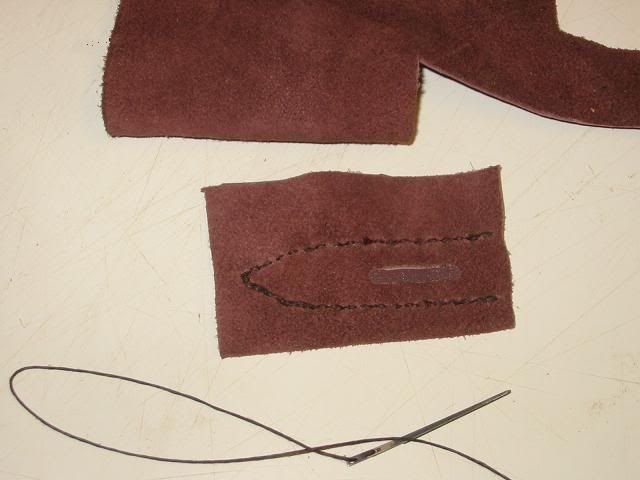 It is a tight fit and that will keep it from falling off. 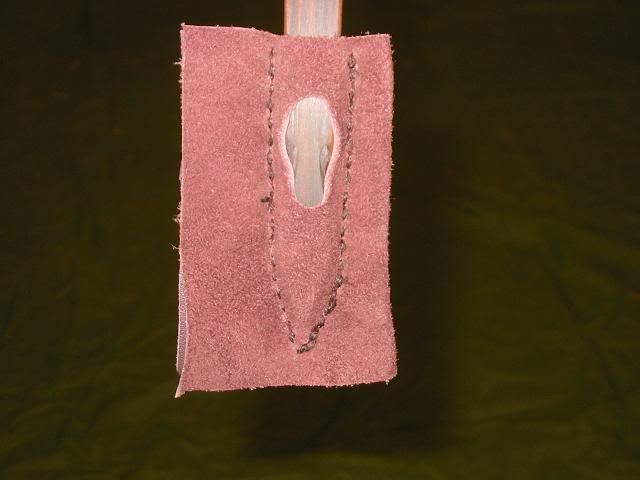 I then trimmed away the extra leather around the outside and tried it with the bow string in place.  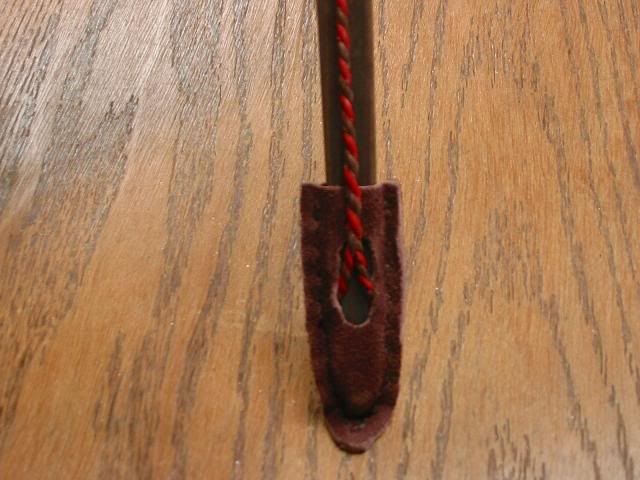 I still need to make a string keeper, an arm guard, a finger tab and a case for the bow as well as a set of arrows. |
|
|
|
Post by Ron Kulas on Oct 18, 2008 20:09:27 GMT -6
|
|
|
|
Post by Ron Kulas on Oct 18, 2008 20:10:17 GMT -6
|
|
|
|
Post by Ron Kulas on Oct 18, 2008 20:11:00 GMT -6
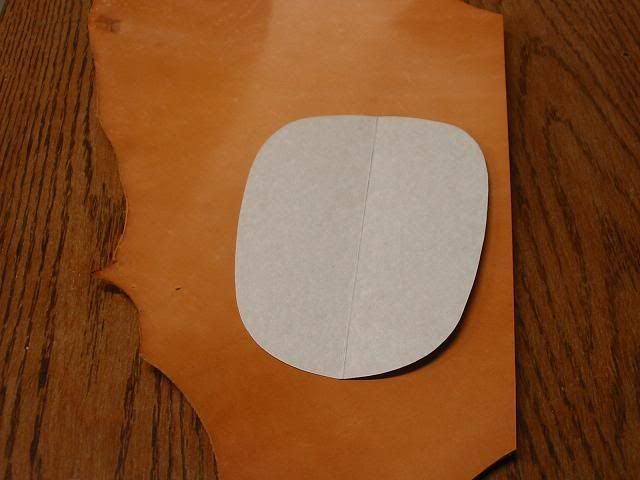
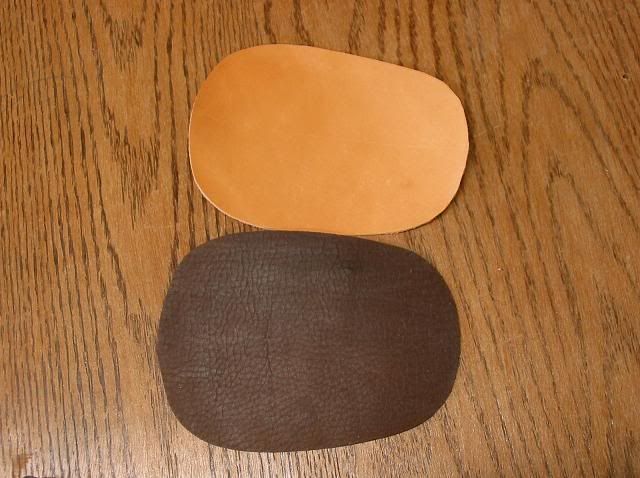
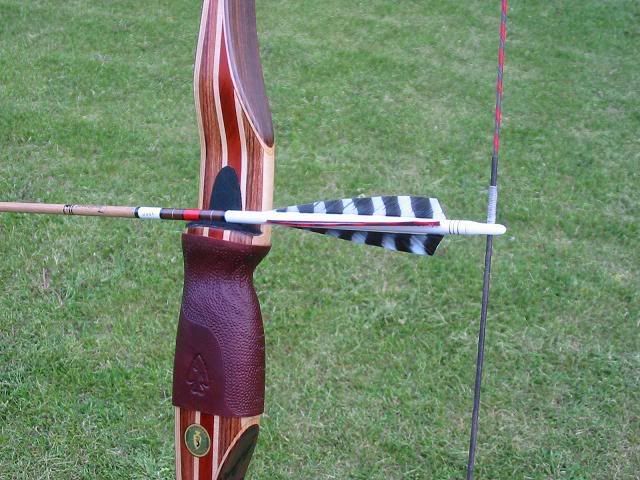
I'm in the home stretch now. The finish on the bow is now hardened. I have the first half dozen shafts fletched, I gave the bow a good rub down with OOOO steel wool to take off the shine and I made the rug rest and strike plate. For the strike plate, I used 2-3 Oz. leather and for the rug, I used the fuzzy side of some adhesive backed Velcro strip I had laying around. 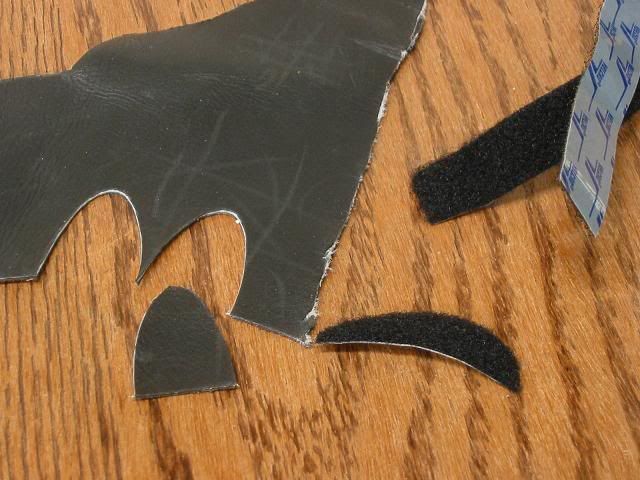 The leather was from some scrap I had so I needed to add some double sided tape to make it stay on the riser. 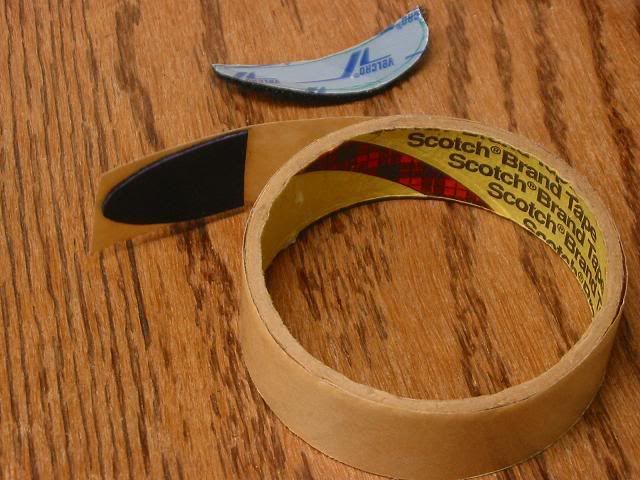 |
|
|
|
Post by Ron Kulas on Oct 18, 2008 20:11:38 GMT -6
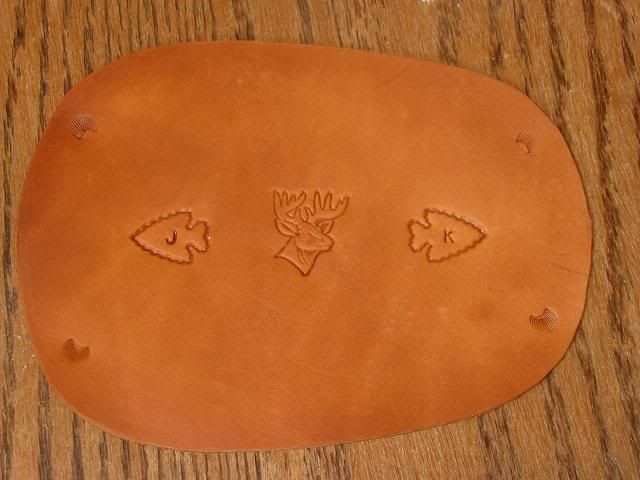
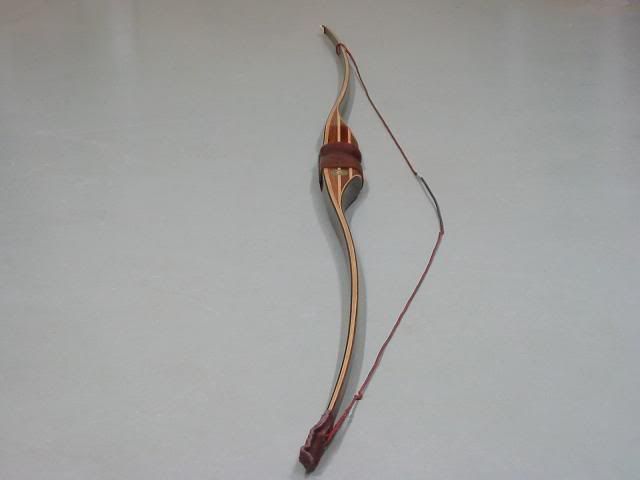
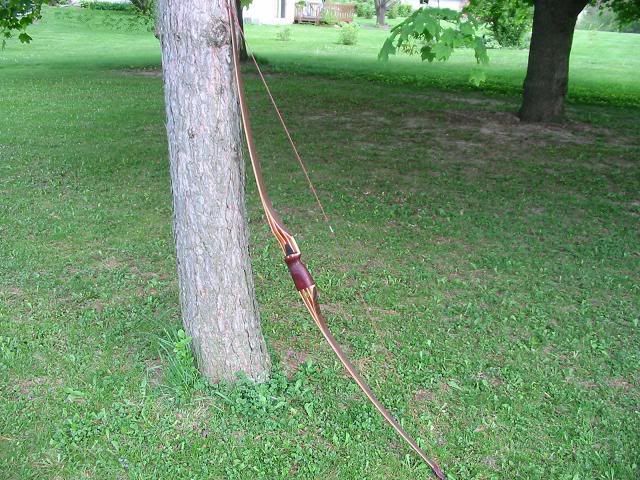
I spent a little time today adding a leather grip to the longbow. The finished wood was very slick and needed some texture. I started with a piece of 4 Oz. tooling leather and got it good and wet so I could form it to the shape of the grip. The wet leather is on the right. I gets much darker when you wet it. 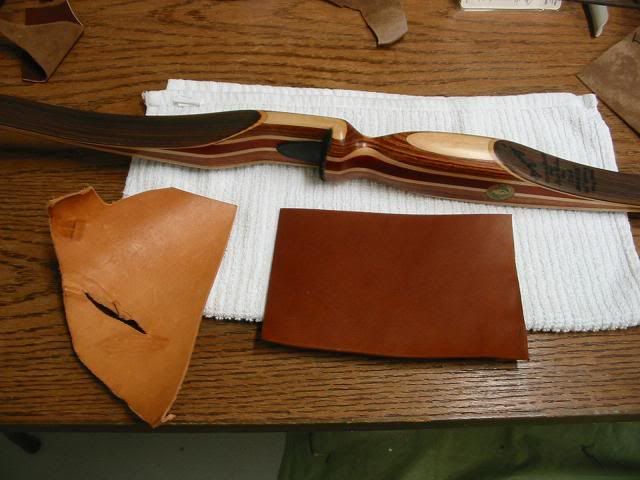 While it's wet, it can be formed and shaped and stretched to fit the contour of the riser. Once I had it shaped, I used a blow dryer to dry it off. 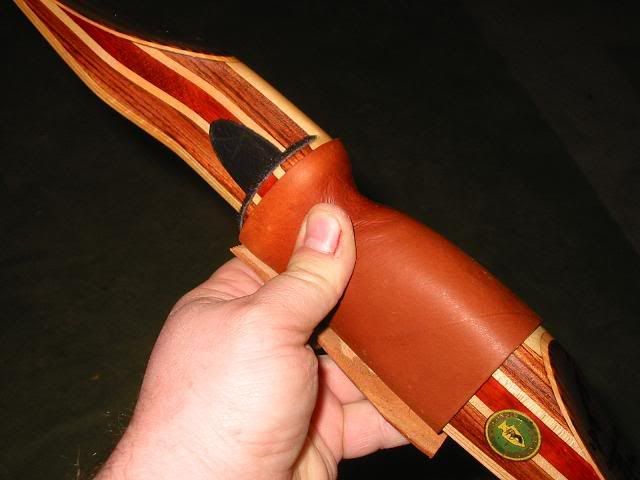 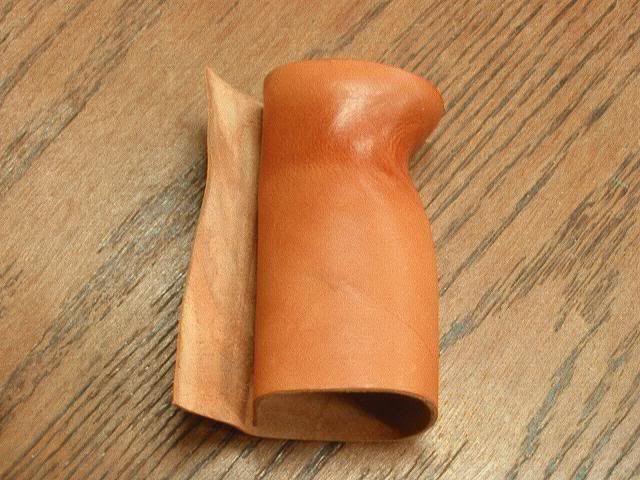 So far during this build along, I have been pretty good about taking pictures of each step. Until now. I must be getting tired because I did a bunch of stamping and tooling on the leather but forgot to get pictures of the process. After stamping and cutting the leather to it's final size, I punched some lacing holes. I then applied a coat of rubber cement to both the inside of the leather and the bow's riser. 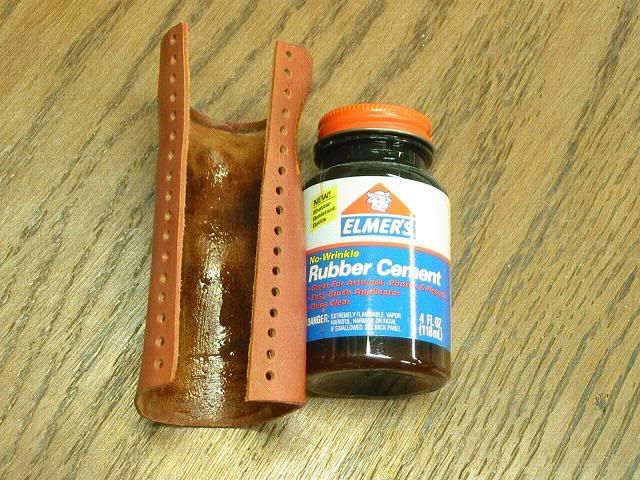 After lacing, I gave the leather a coat of Neats foot oil to restore the oils lost during the working of the leather and from blow drying. The oil makes the leather even darker. Now, you can see the tooling and stamping I forgot to take pictures of earlier. 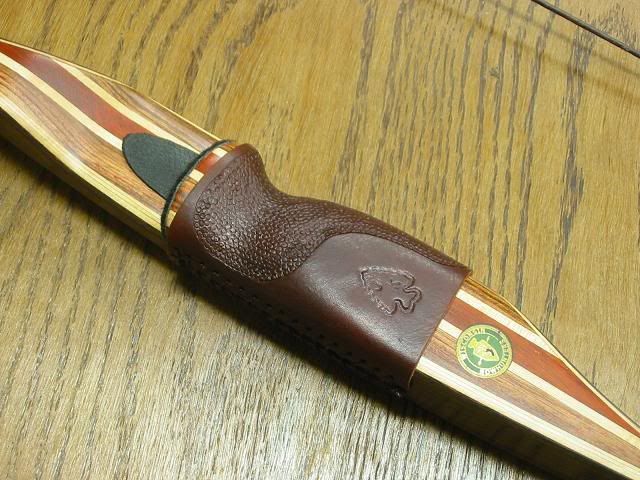 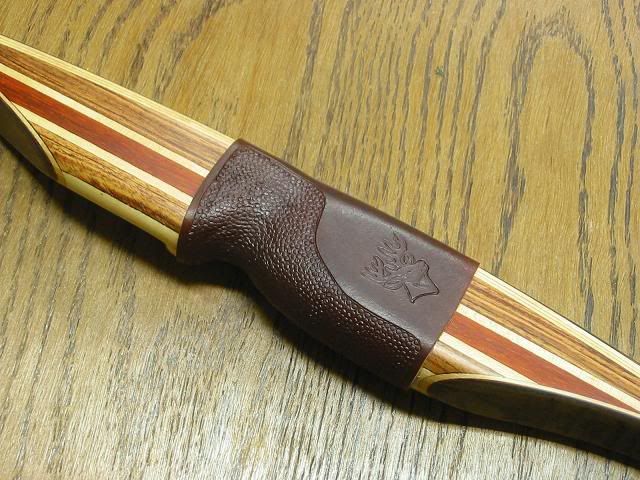 Then I took it outside for a picture in natural light. 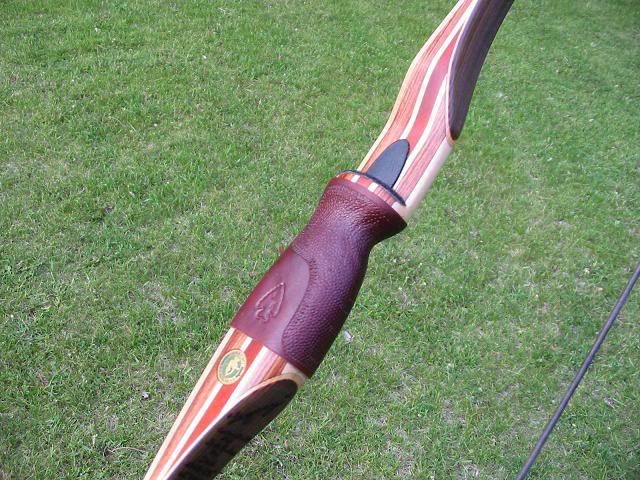 |
|
|
|
Post by Ron Kulas on Oct 18, 2008 20:12:29 GMT -6
|
|
|
|
Post by Ron Kulas on Oct 18, 2008 20:14:32 GMT -6
I bought a new digital camera that will also shoot video so I used Josh as my Guinea Pig. I told him to shot 3 arrows into the target. I had him stand about 5 yards away because I was burning brush in our backyard fire pit and that was where we had to stand to stay out of the smoke. I told him to fire the 3 arrows and not to talk or look in the camera. His first shot was a dead center hit on the bullseye. The second shot cracked the nock of the first arrow and made it glance out. You can tell by the way he shakes his head that he wants to look at the camera and say something. Here is my first ever video staring Josh and his homemade custom Longbow. www.youtube.com/watch?v=wsU5S6fwV6g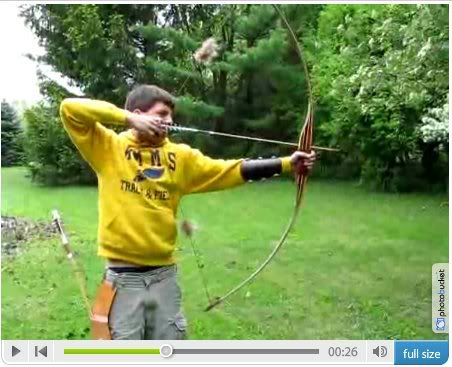 |
|
|
|
Post by Ron Kulas on Oct 7, 2021 19:18:51 GMT -6
|
|