Post by Ron Kulas on Dec 21, 2008 19:15:22 GMT -6
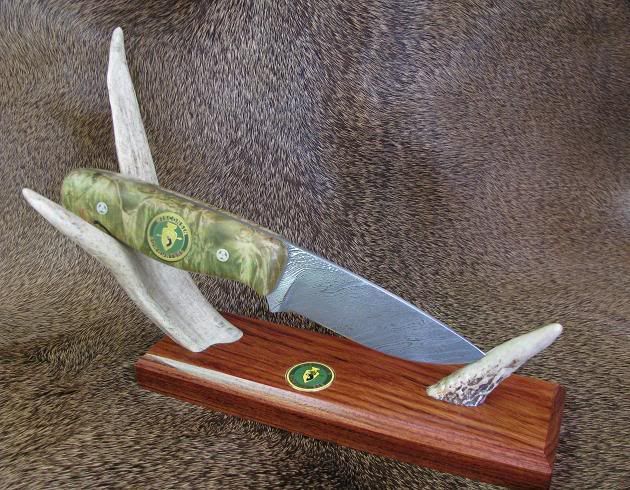
I'm making a custom knife and sheath as a donation to the WBH to be used at the annual convention in March. I hope this and the other great prizes will be an extra incentive to attend the convention.
I thought I would share the steps that go into the making of this custom knife.
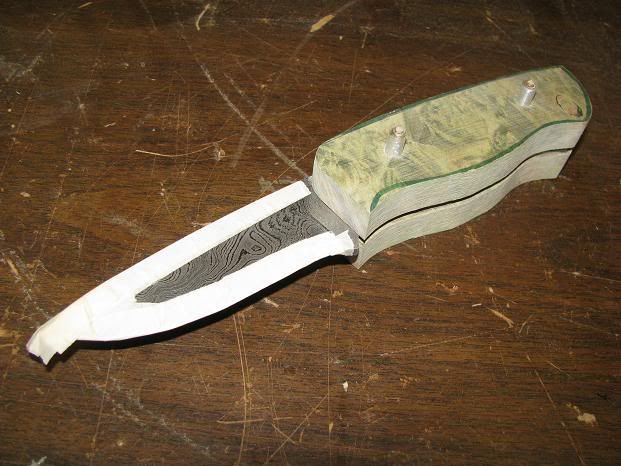
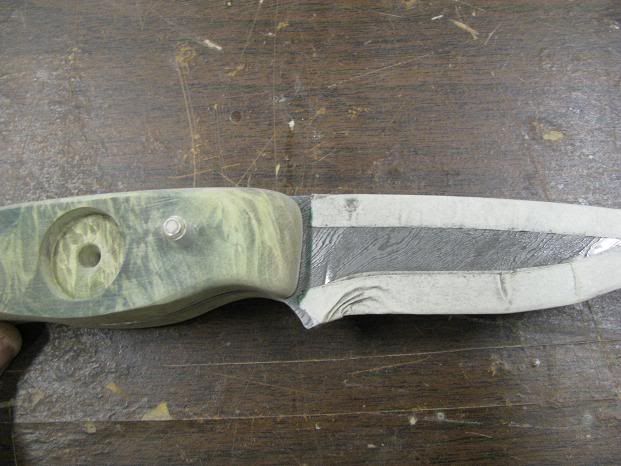
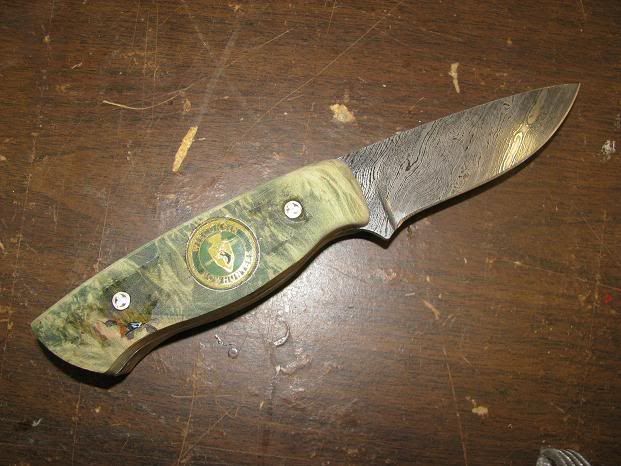
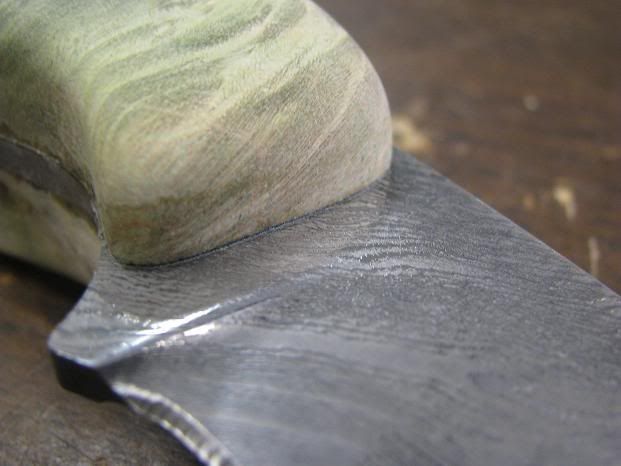
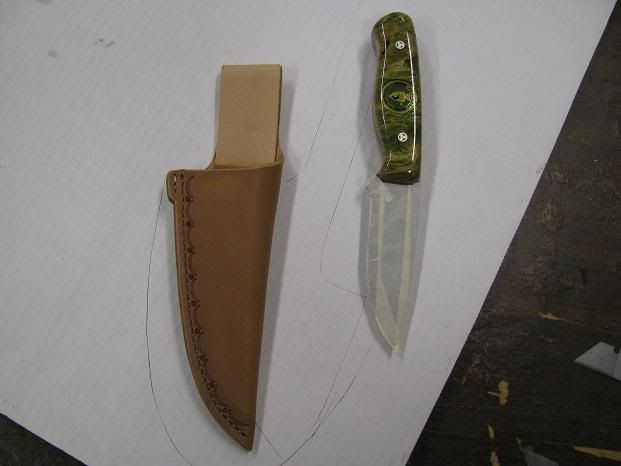
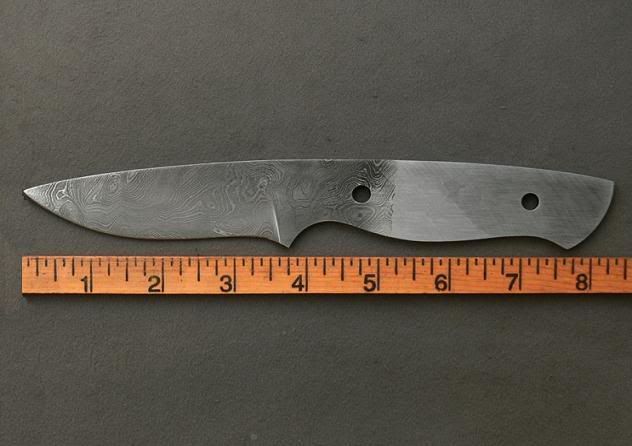
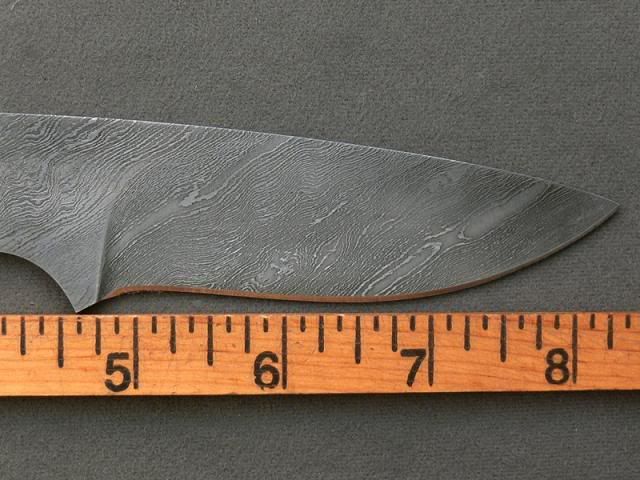
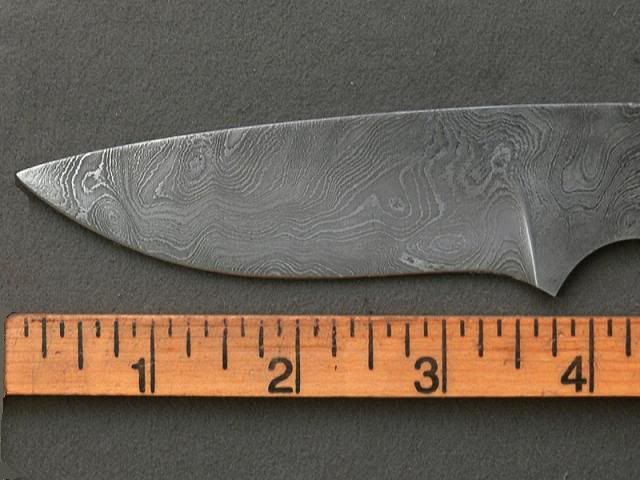
The blade is a drop point hunter and is forged Damascus Steel made from 1095 and 15N20 steels. I did not make the blank but rather purchased it as I do not have the tools or capabilities to make Damascus. I could have made the blank myself from O1 steel like I have in the past but I wanted this knife to unique and special so I went with a Damascus blade with a lot of character. Every every Damascus blade is a one-of-a-kind. I have a friend who makes a lot of custom knives and he told me of his source in Idaho Falls called two fingers knives Llc. and that I was sure to get a good quality blade. He was right.
The blank is a hefty 1/8 inch thick with a 3 1/2 inch blade and a 4 1/2 inch handle. The blank is mar-quenched and tempered to a Rockwell hardness of 57. This knife is sure to have great edge holding ability.
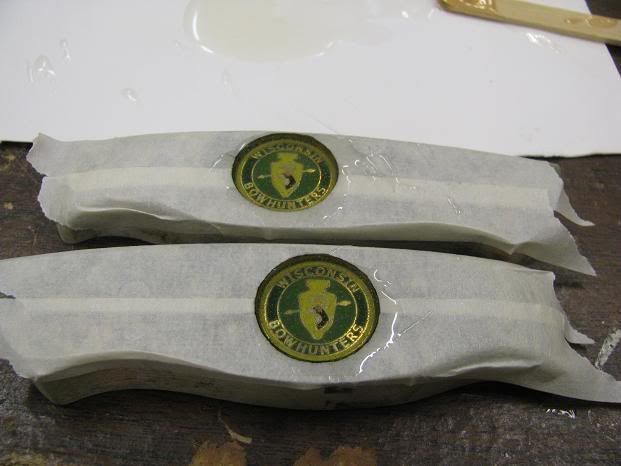
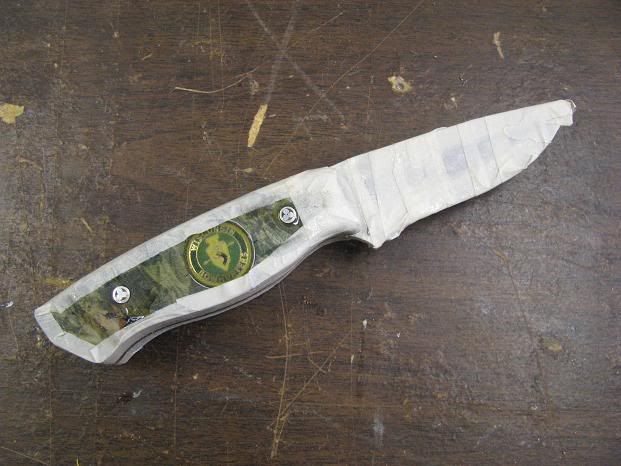
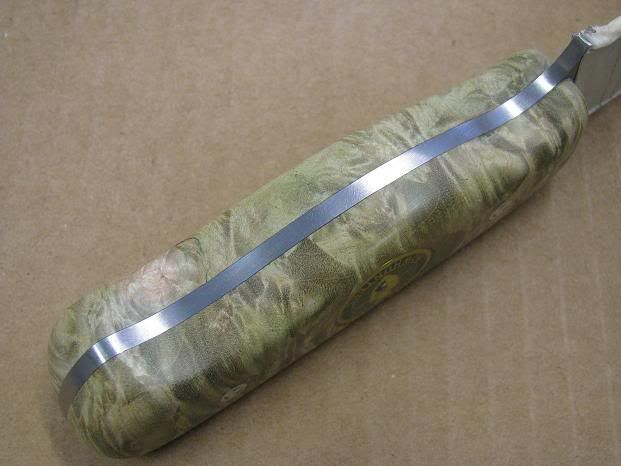
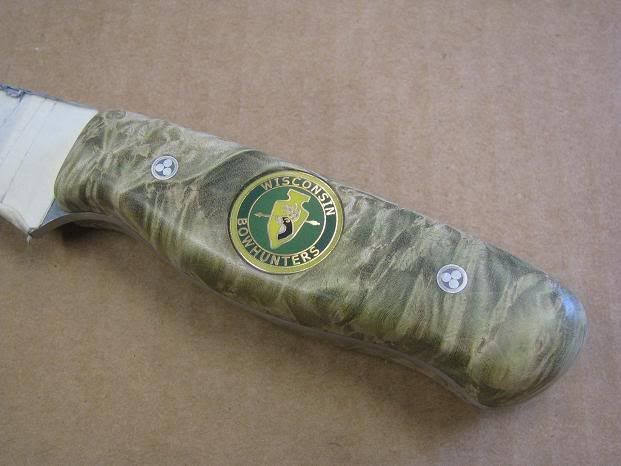
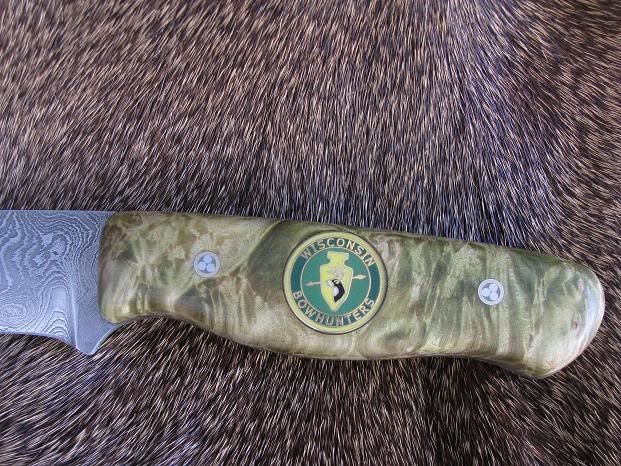
For the scales of the knife (sides of the handle) I wanted to keep the whole idea of the swirling pattern in the blade and in keeping with the one-of-a-kind idea so I am using hard rock maple burl died green (WBH color) and then stabilized with wood hardener to prevent the normal swelling and shrinking that happens to wood.
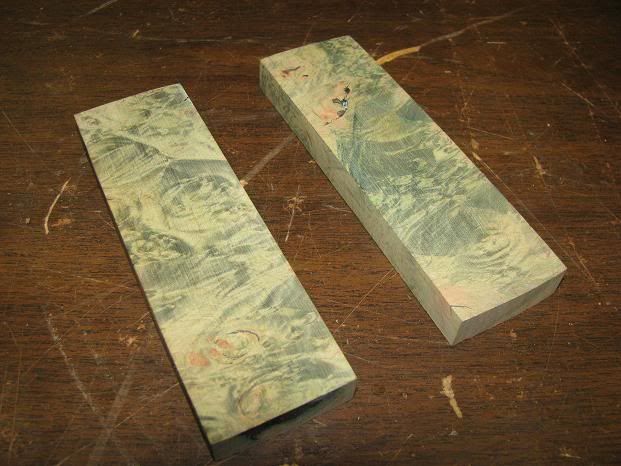
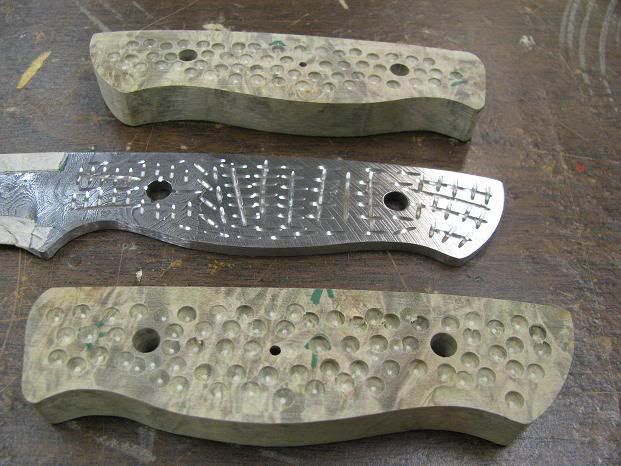
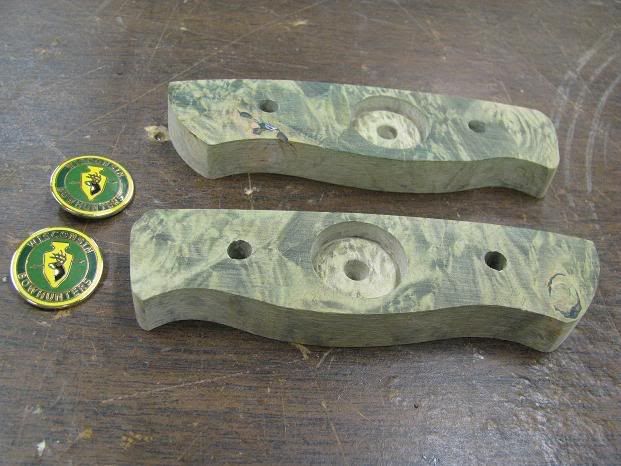
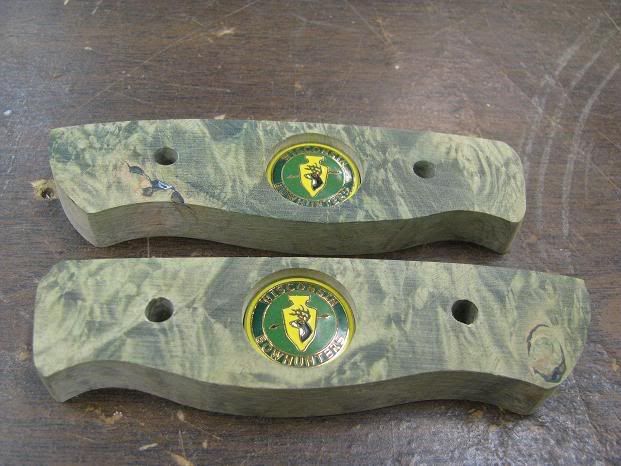
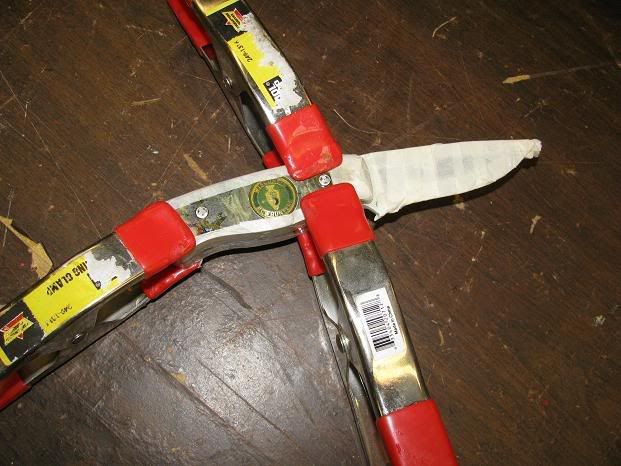
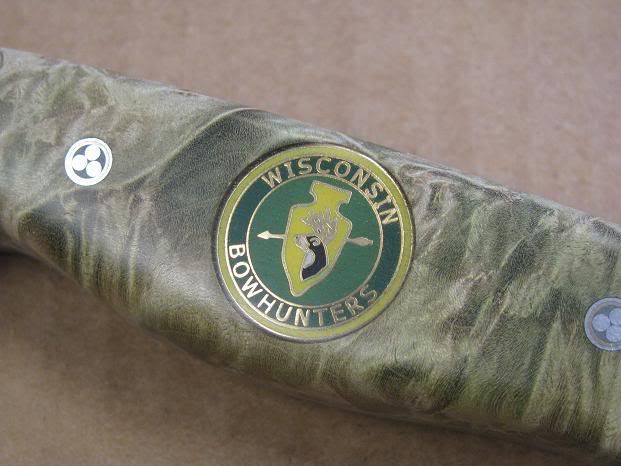
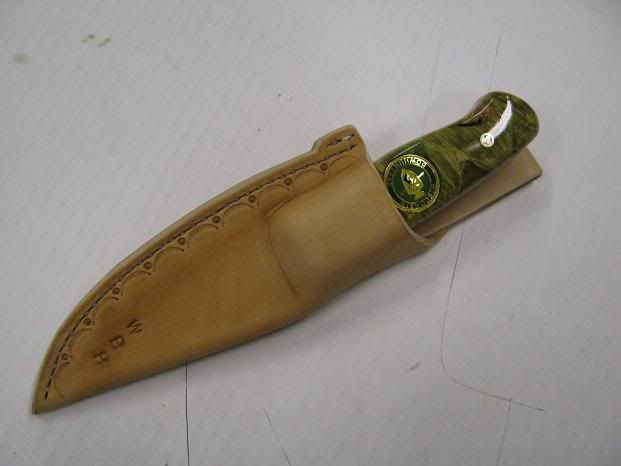
Normally, swelling and shrinking is not a problem with this sort of handle but I want to make extra sure the wood is stabilized because I am going to be inlaying metal and enamel WBH logos into the handle and I don't want the future owner to feel a line where the medallions and the wood meet and I want to make sure the medallions stay put for the life of the knife.

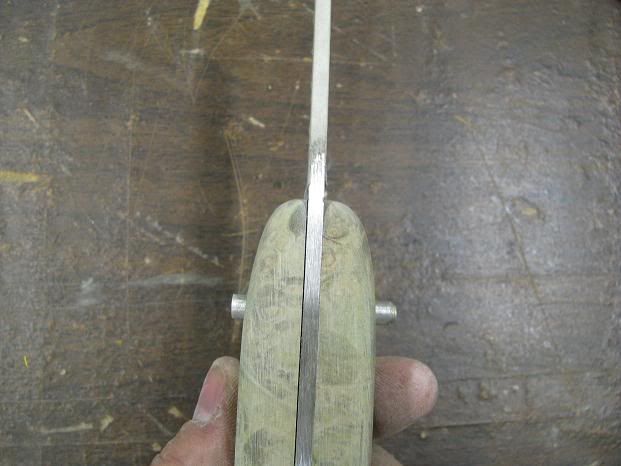
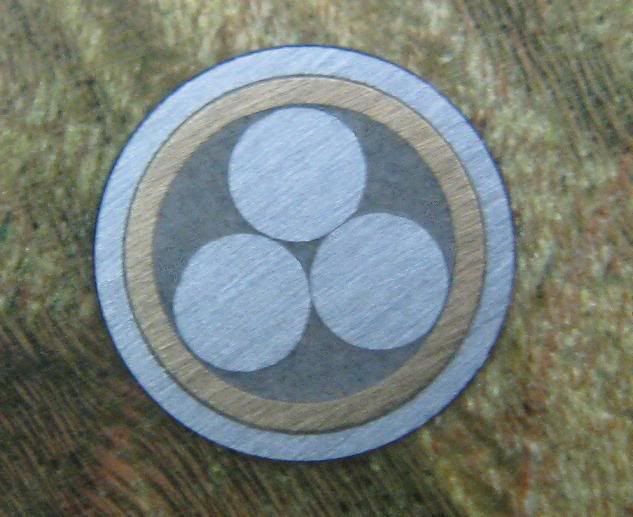
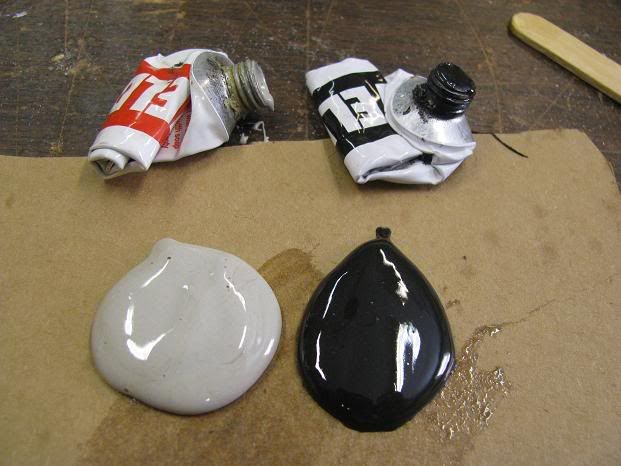
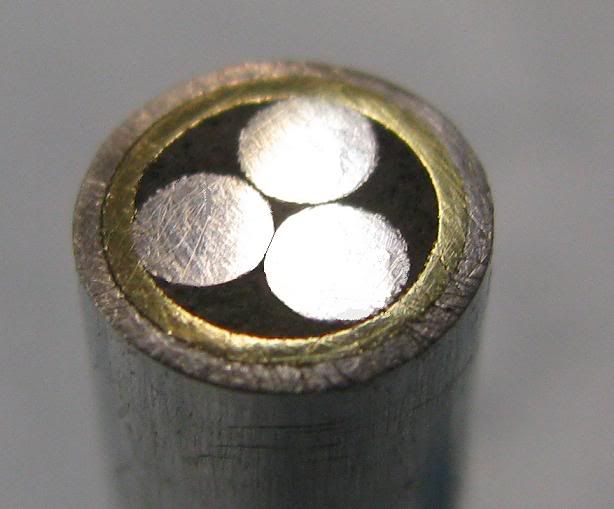
In keeping with uniqueness, I want all the little things to have detail. Rather than using a single material pin such as brass or copper or silver nickle or even aluminum I am making custom pins for the joint between the scales and the blade blank. I am making mosaic pins with an aluminum outer sleeve followed by a brass sleeve and then 3 aluminum pins inside the brass tube. All the parts of the mosaic pins will be held in place with J.B. Weld because I want the black background to contrast with the shiny aluminum just like the black and sliver lines in the blade.
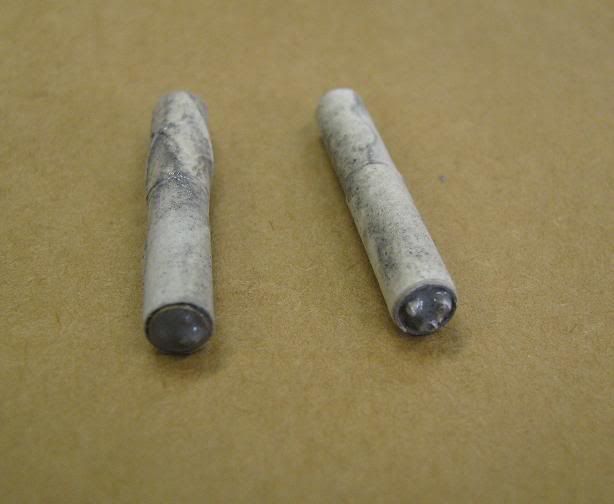
Here they are after the epoxy is set and I ground the end flat on a belt sander.
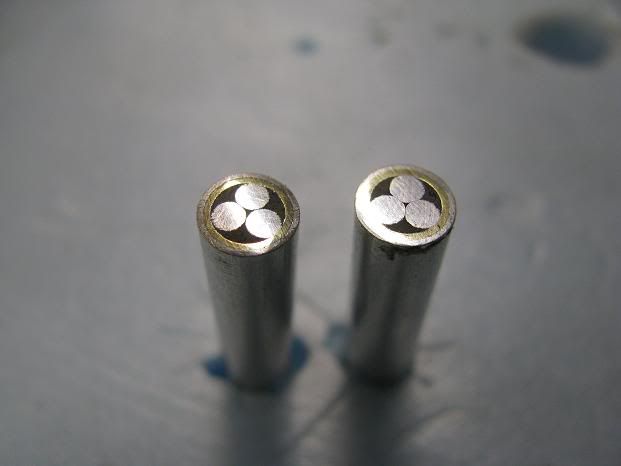
And a close up.
I thought I would share the steps that go into the making of this custom knife.
The blade is a drop point hunter and is forged Damascus Steel made from 1095 and 15N20 steels. I did not make the blank but rather purchased it as I do not have the tools or capabilities to make Damascus. I could have made the blank myself from O1 steel like I have in the past but I wanted this knife to unique and special so I went with a Damascus blade with a lot of character. Every every Damascus blade is a one-of-a-kind. I have a friend who makes a lot of custom knives and he told me of his source in Idaho Falls called two fingers knives Llc. and that I was sure to get a good quality blade. He was right.
The blank is a hefty 1/8 inch thick with a 3 1/2 inch blade and a 4 1/2 inch handle. The blank is mar-quenched and tempered to a Rockwell hardness of 57. This knife is sure to have great edge holding ability.
For the scales of the knife (sides of the handle) I wanted to keep the whole idea of the swirling pattern in the blade and in keeping with the one-of-a-kind idea so I am using hard rock maple burl died green (WBH color) and then stabilized with wood hardener to prevent the normal swelling and shrinking that happens to wood.
Normally, swelling and shrinking is not a problem with this sort of handle but I want to make extra sure the wood is stabilized because I am going to be inlaying metal and enamel WBH logos into the handle and I don't want the future owner to feel a line where the medallions and the wood meet and I want to make sure the medallions stay put for the life of the knife.
In keeping with uniqueness, I want all the little things to have detail. Rather than using a single material pin such as brass or copper or silver nickle or even aluminum I am making custom pins for the joint between the scales and the blade blank. I am making mosaic pins with an aluminum outer sleeve followed by a brass sleeve and then 3 aluminum pins inside the brass tube. All the parts of the mosaic pins will be held in place with J.B. Weld because I want the black background to contrast with the shiny aluminum just like the black and sliver lines in the blade.
Here they are after the epoxy is set and I ground the end flat on a belt sander.
And a close up.