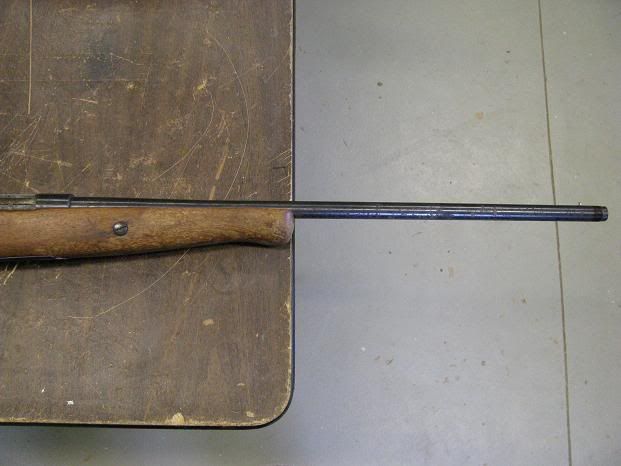
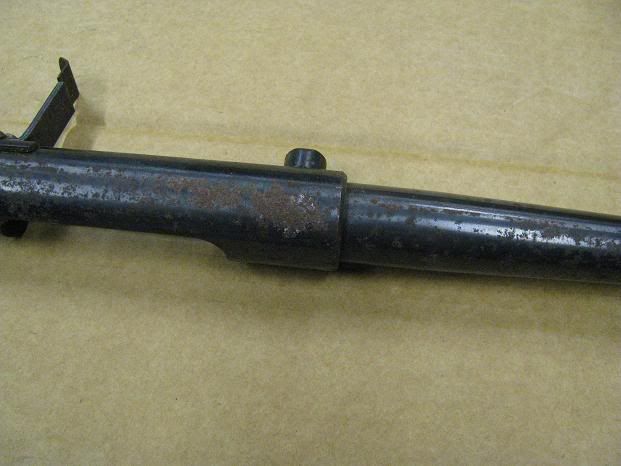
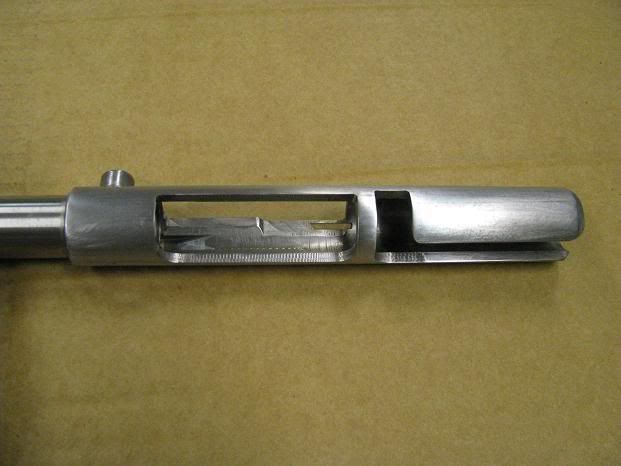
With all the small part finished, I could focus on the barrel. It took a long time to get rid of all the old bluing and the rust but in order to get a good finish on the metal, it was time well spent.
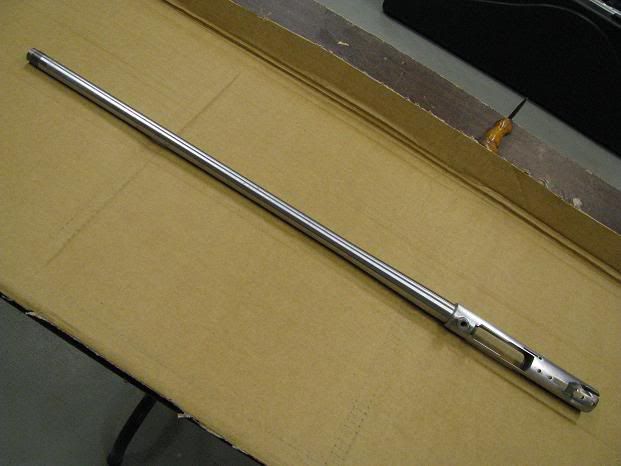
I then triple blued the barrel and rubbed it down with steel wool (quire vigerously) after the 3rd bluing
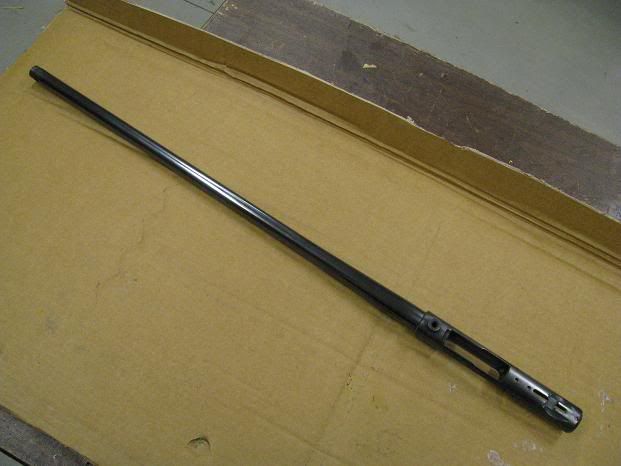
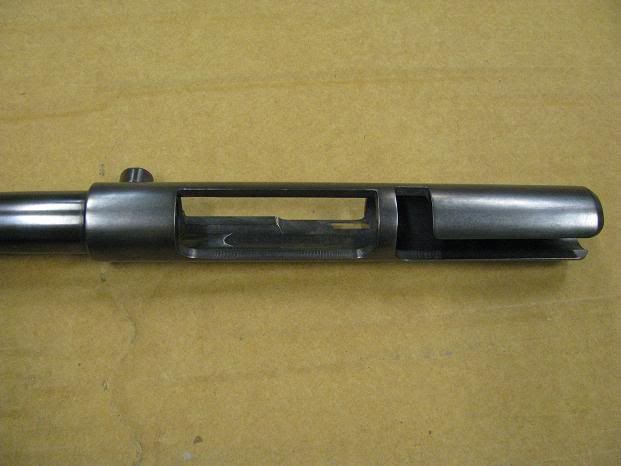
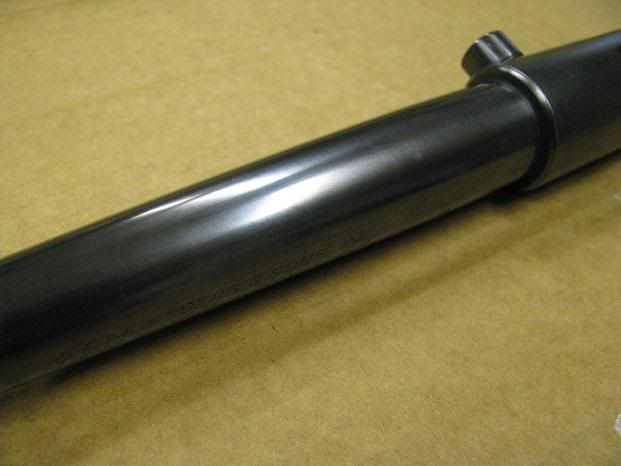
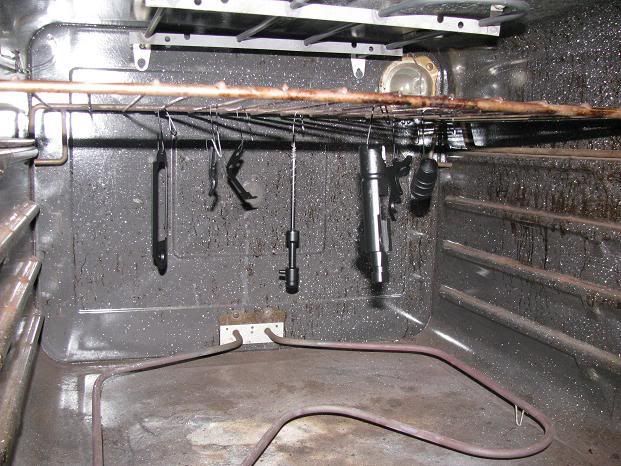
Once again, I'm pretty sure that level of protection (once oiled) would work well but I decided to cover all the metal with the baking lacquer. Again, If the lacquer ever gets chipped or wears off, there will be nicely blued metal underneath. I could not fit the whole barrel in my oven so I made a make shift oven from an electric hot plate and a piece of stove pipe.
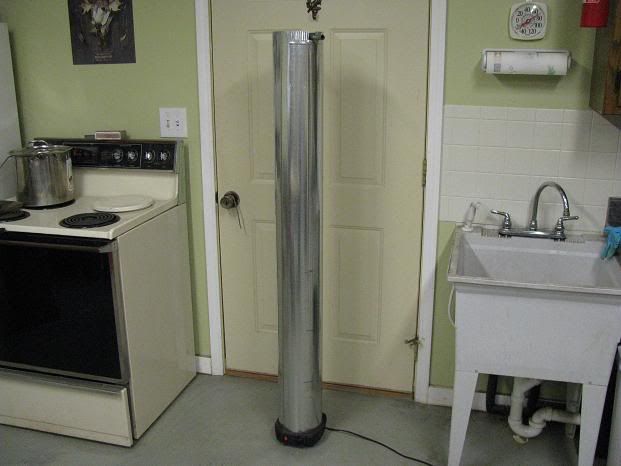
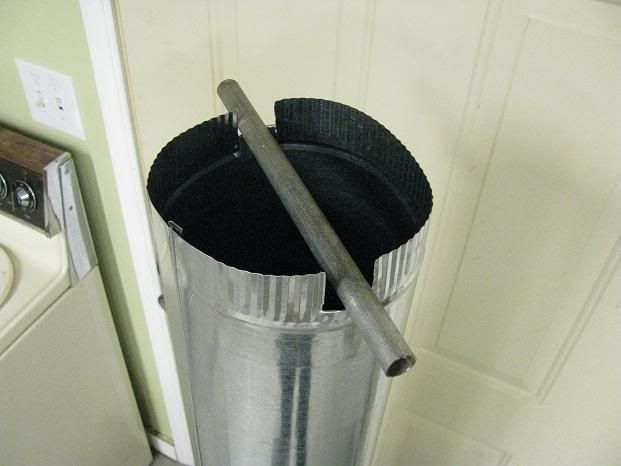
I supported the barrel by hanging it from a wire attached to a metal rod across the opening.
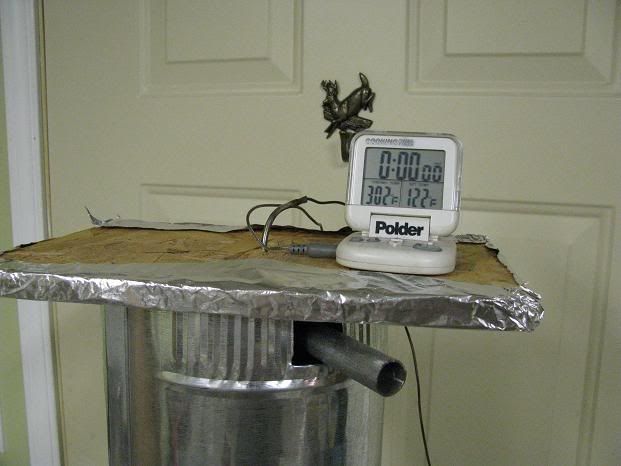
I used a scrap of plywood wrapped in aluminum foil as a lid. I drilled a hole for a temp probe so I could keep track of the inside temp.
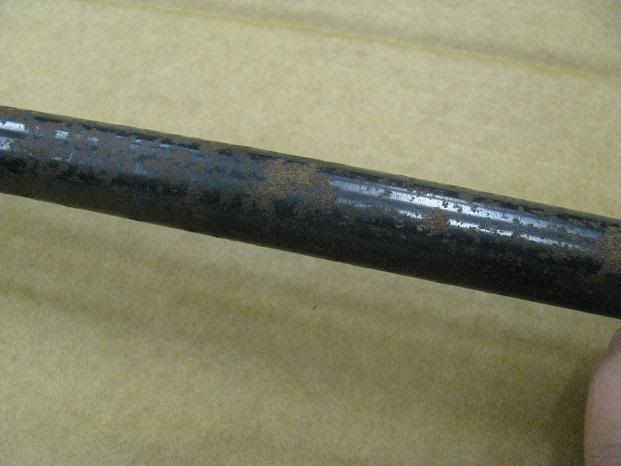
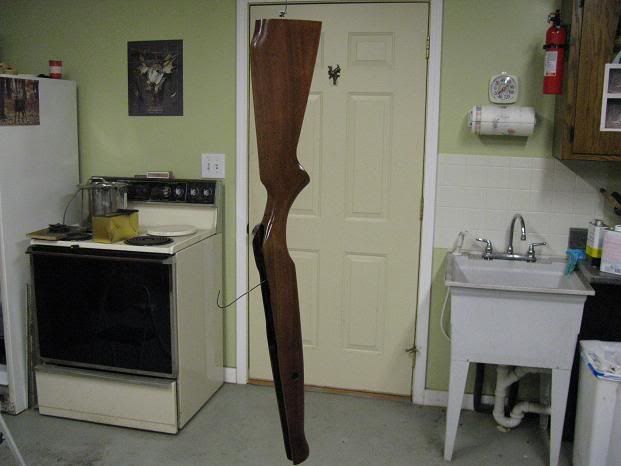
During the hour that the barrel cooked, I sanded down the rest of the wooden stock in preparation for finishing. Here is the cooled barrel.
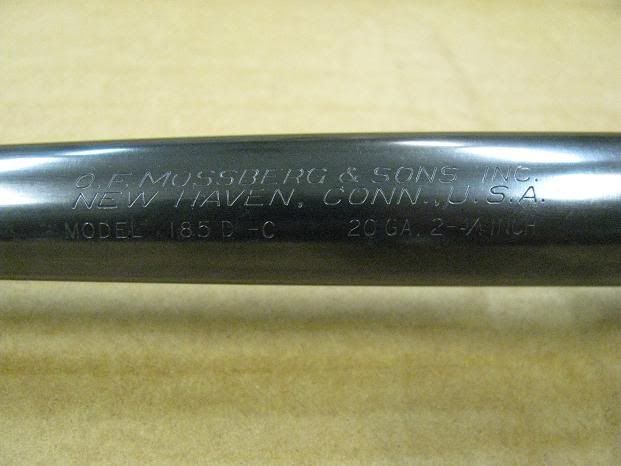
Now even though this is going to be a matte finish low key turkey gun there is nothing that says a guy cant add a little flare such a poor mans gold inlay on the barrel.
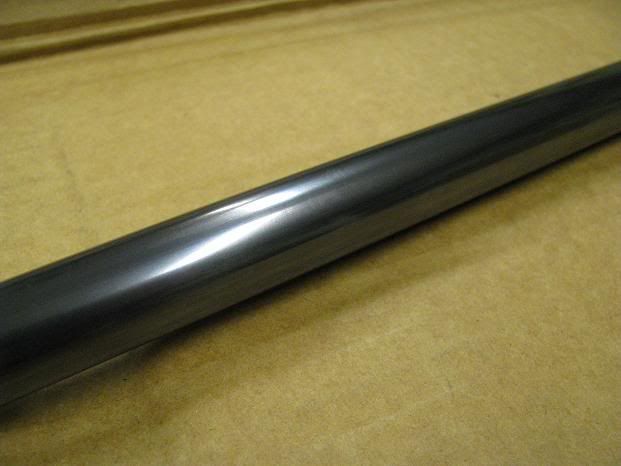
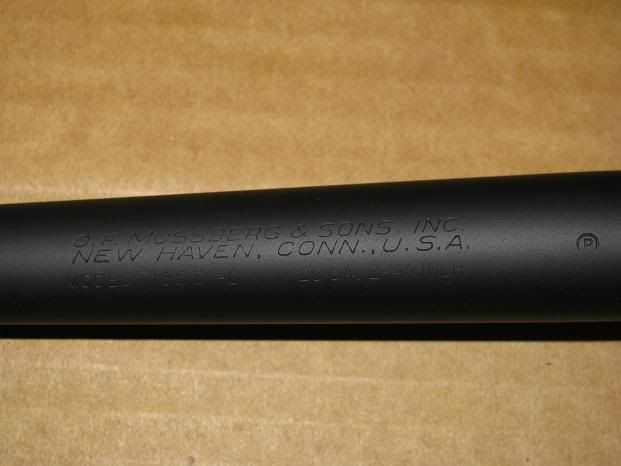
Here is the finish result.
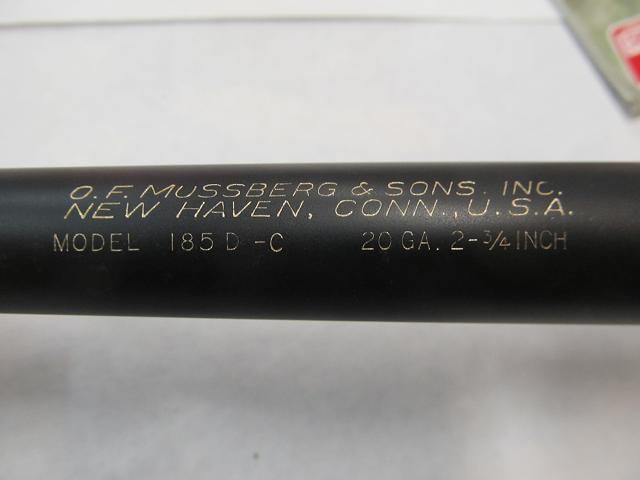
Here is the poor mans metalic gold
Brush it on and let it dry and then wet a paper towel with non acetone fingernail polish remover and wipe down the barrel (not too hard) and it will leave only the gold (or whatever color you like) in the depressed lettering.

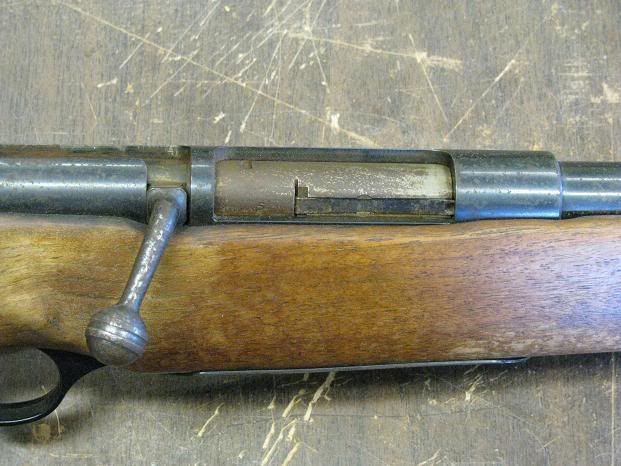
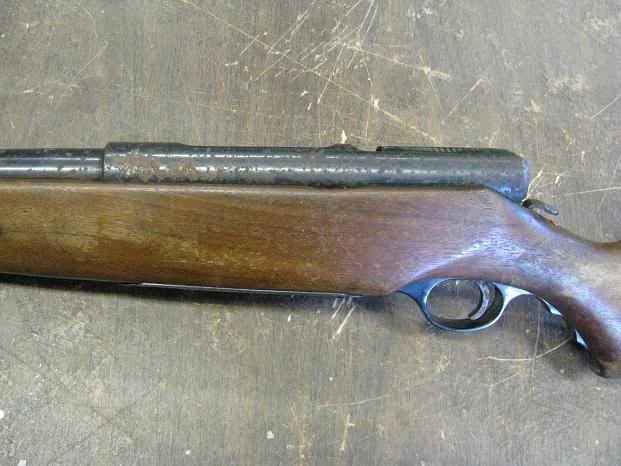
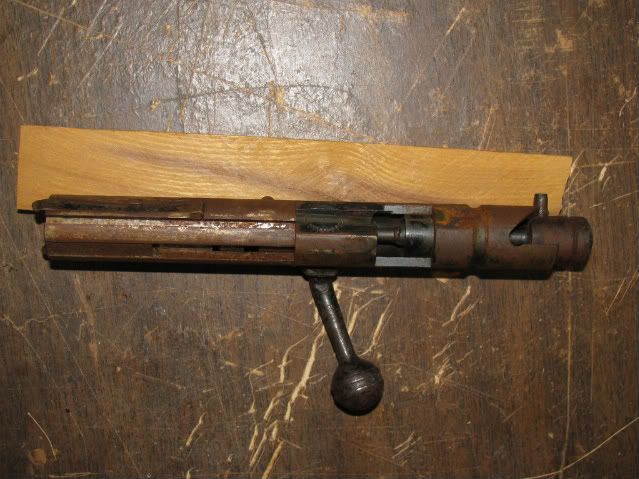
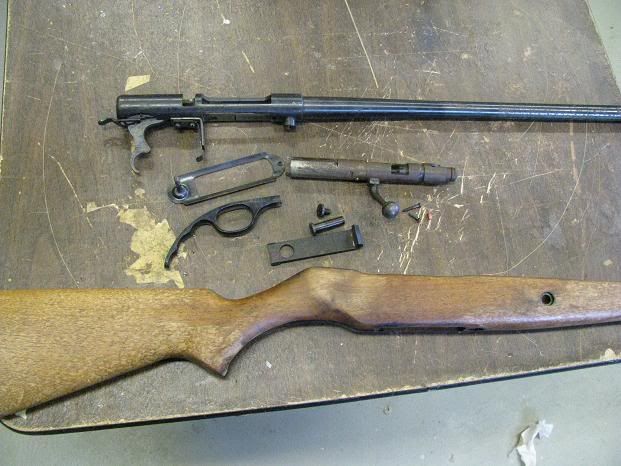
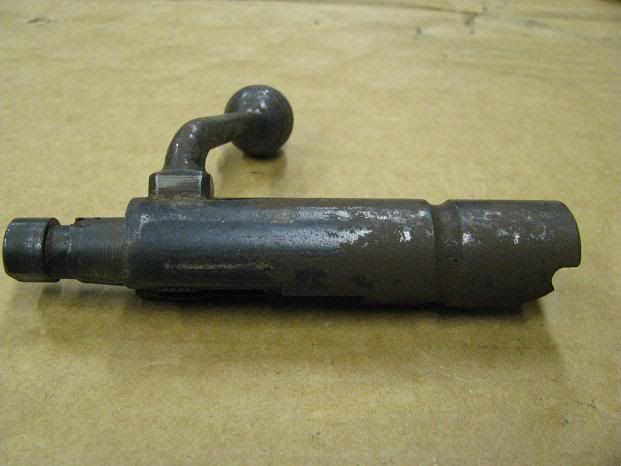
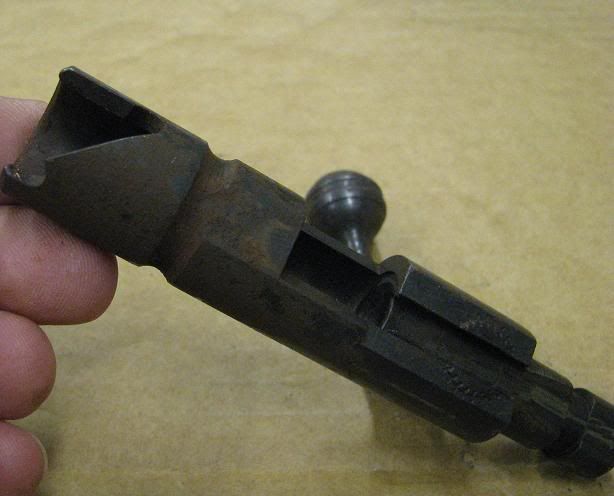
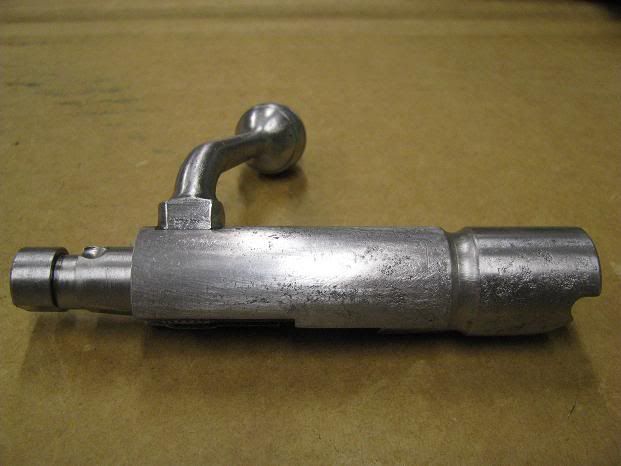
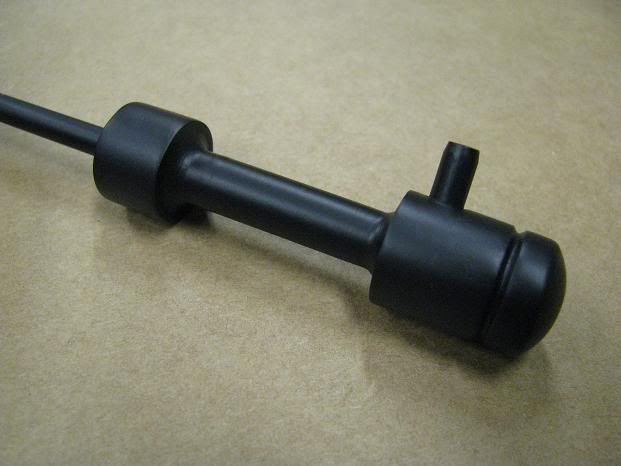
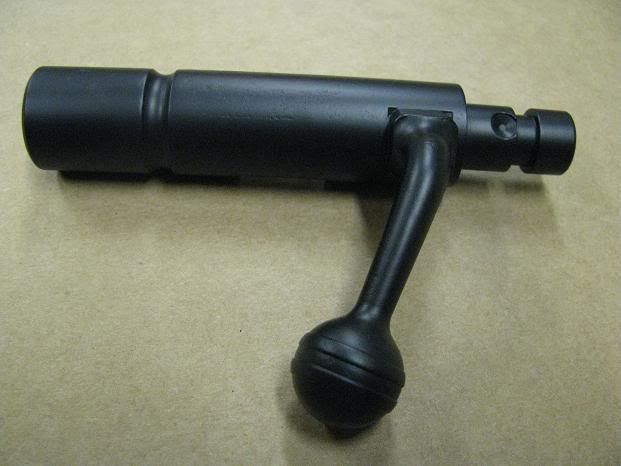
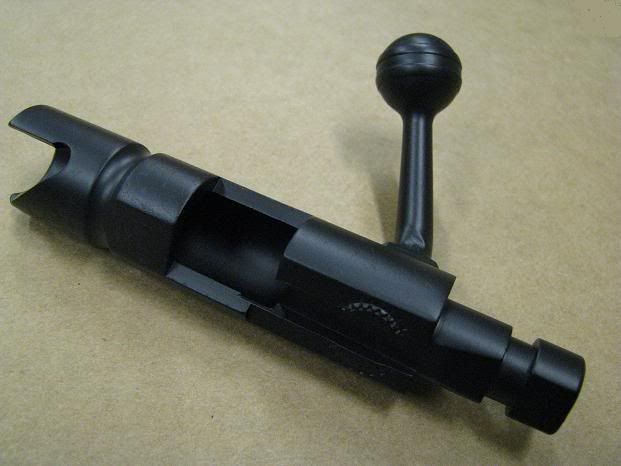
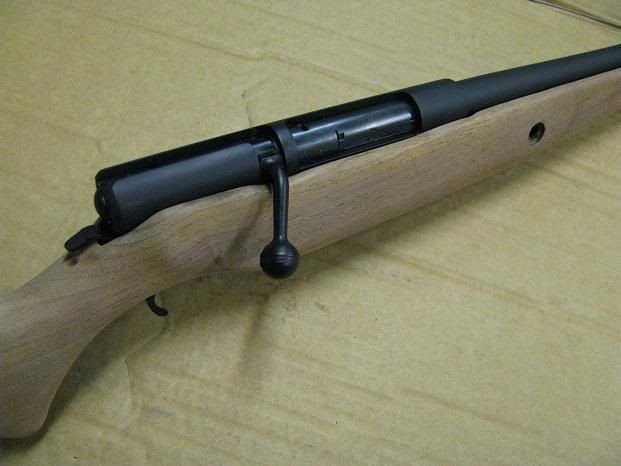
I then assembled all the parts of the action.
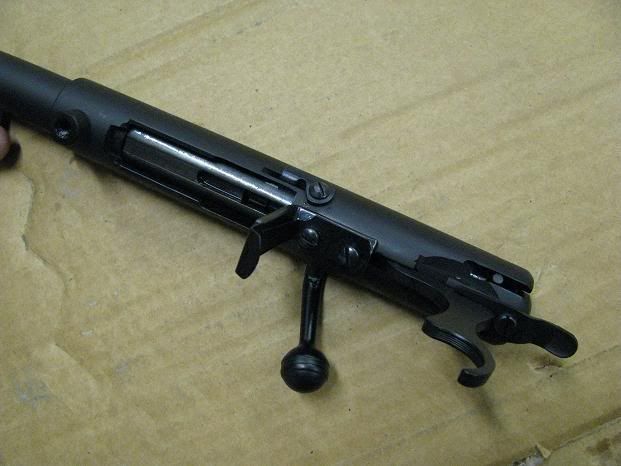
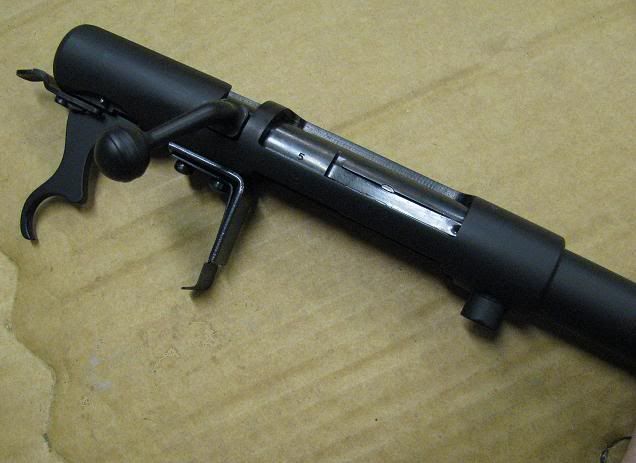
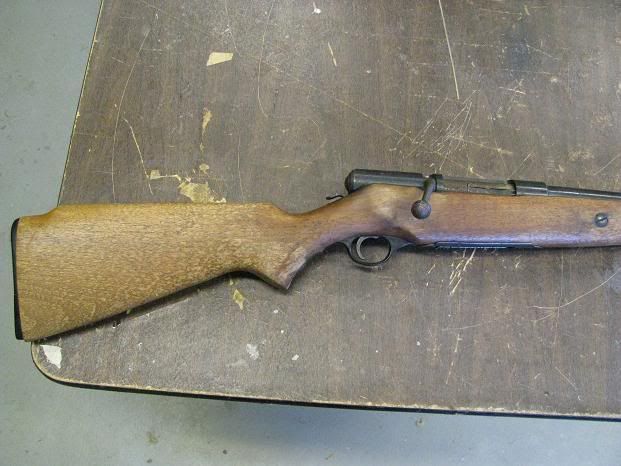
Since there was no oil on any of the parts, I set the action in the stock to see how it would look.
With the finish mostly gone and the stains, I could not tell what sort of wood I am dealing with.
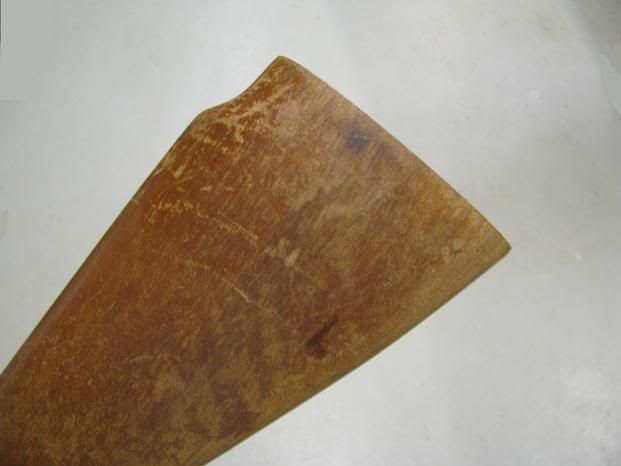
I used 100 grit and then 220 in my palm sander and as soon as I started sanding, I knew exactly what kind wood it was just by the smell. It's good old American Walnut. Its just such a plain straight grain I thought it might be a cheaper wood stained to look like walnut but no, this is the real deal.
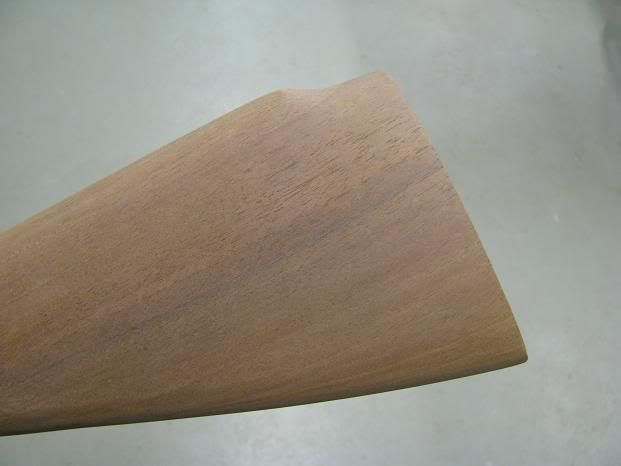
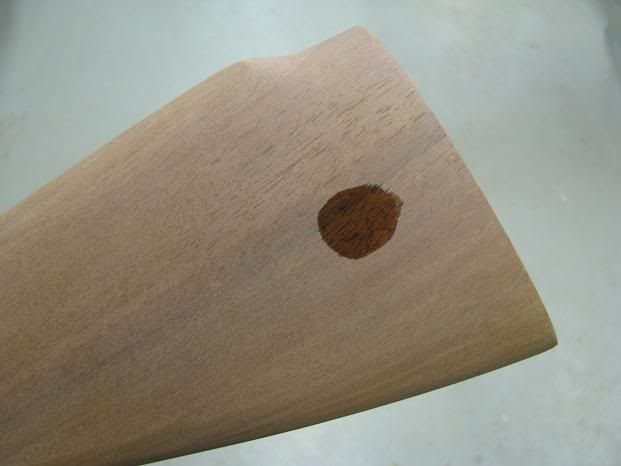
I dipped my finger in a can of denatured alchol and touched the wood to see what I can expect for a finish color. I think this stock will be nicer looking than I had hoped.
This gun will not get a hand rubbed oil finish. It will get several coats of Hallsman spar urathane in a satin finish instead. Spar Urethane is a protective clear coat finish that has been specially formulated to use on interior or exterior wood surfaces exposed to water, sunlight, or changes in temperature and humidity. The UV blockers contained in Spar Varnish, help to reduce the effects of fading or graying caused by the sun.
The basic difference between other varnishes and spar, is the ratio of oil to resin. In spar, this ratio is relatively high, which makes for a more flexible finish. It is tougher than polyurethane, making it more resistant to cracking and chipping. This also makes it more durable under dramatic temperature changes.
If you are going to use a spray on finish on your stock (vs a hand rubbed oil finish) use spar vs the cheaper polyurethane. ***I am in no way attached to minwax and do not benefit by extolling the virtues of spar urathan. I just know what works***

I spray on several coats (must all be applied within a hour and a half) and then the stock sits for 72 hours and then is lightly sanded and sprayed again. It provides a great finish and is faster than 10 coats of tung oil applied over 10 days.
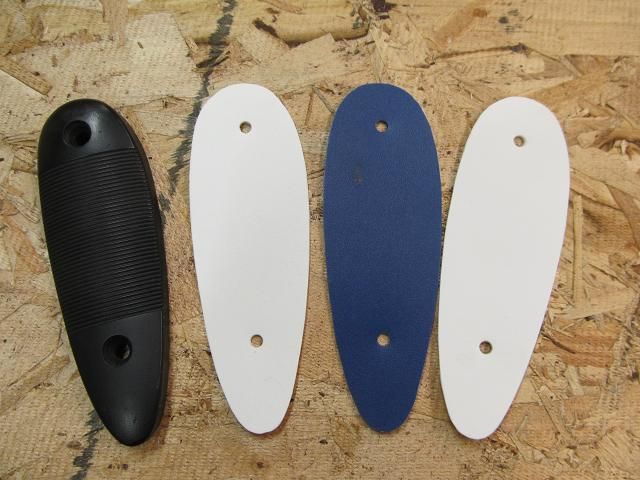
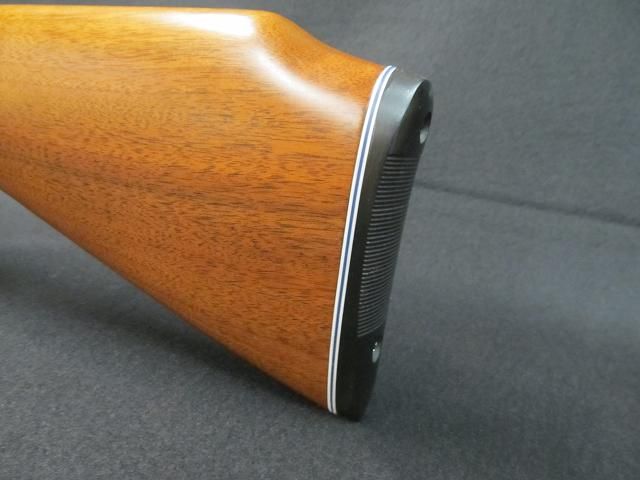
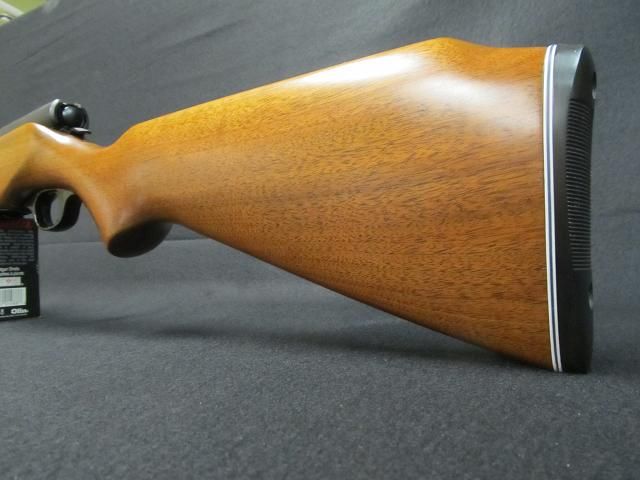
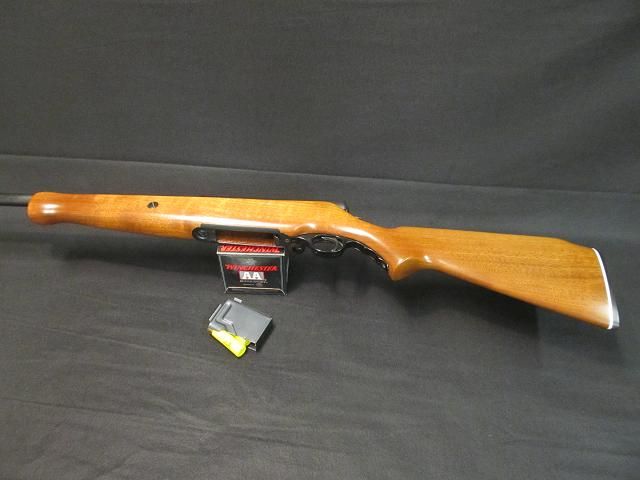
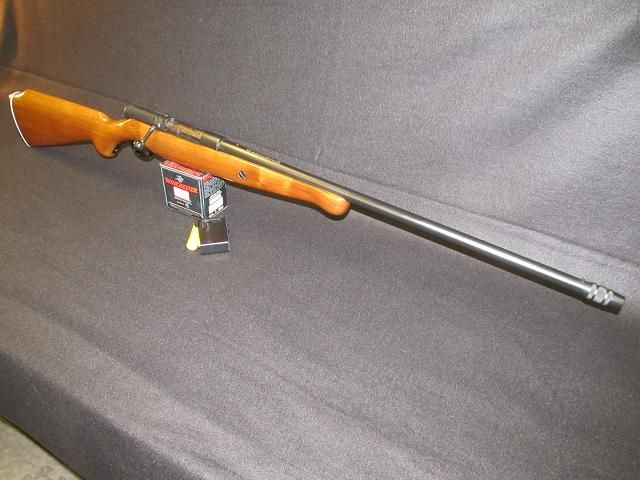
Now its the waiting game waiting for the finish to dry so I can assemble the gun. I think I will add white and blue spacers between the stock and butt plate. In the meantime I can start the next gun which might be one of the coolest little guns I have ever worked on but thats for another thread coming soon.
to be continued......